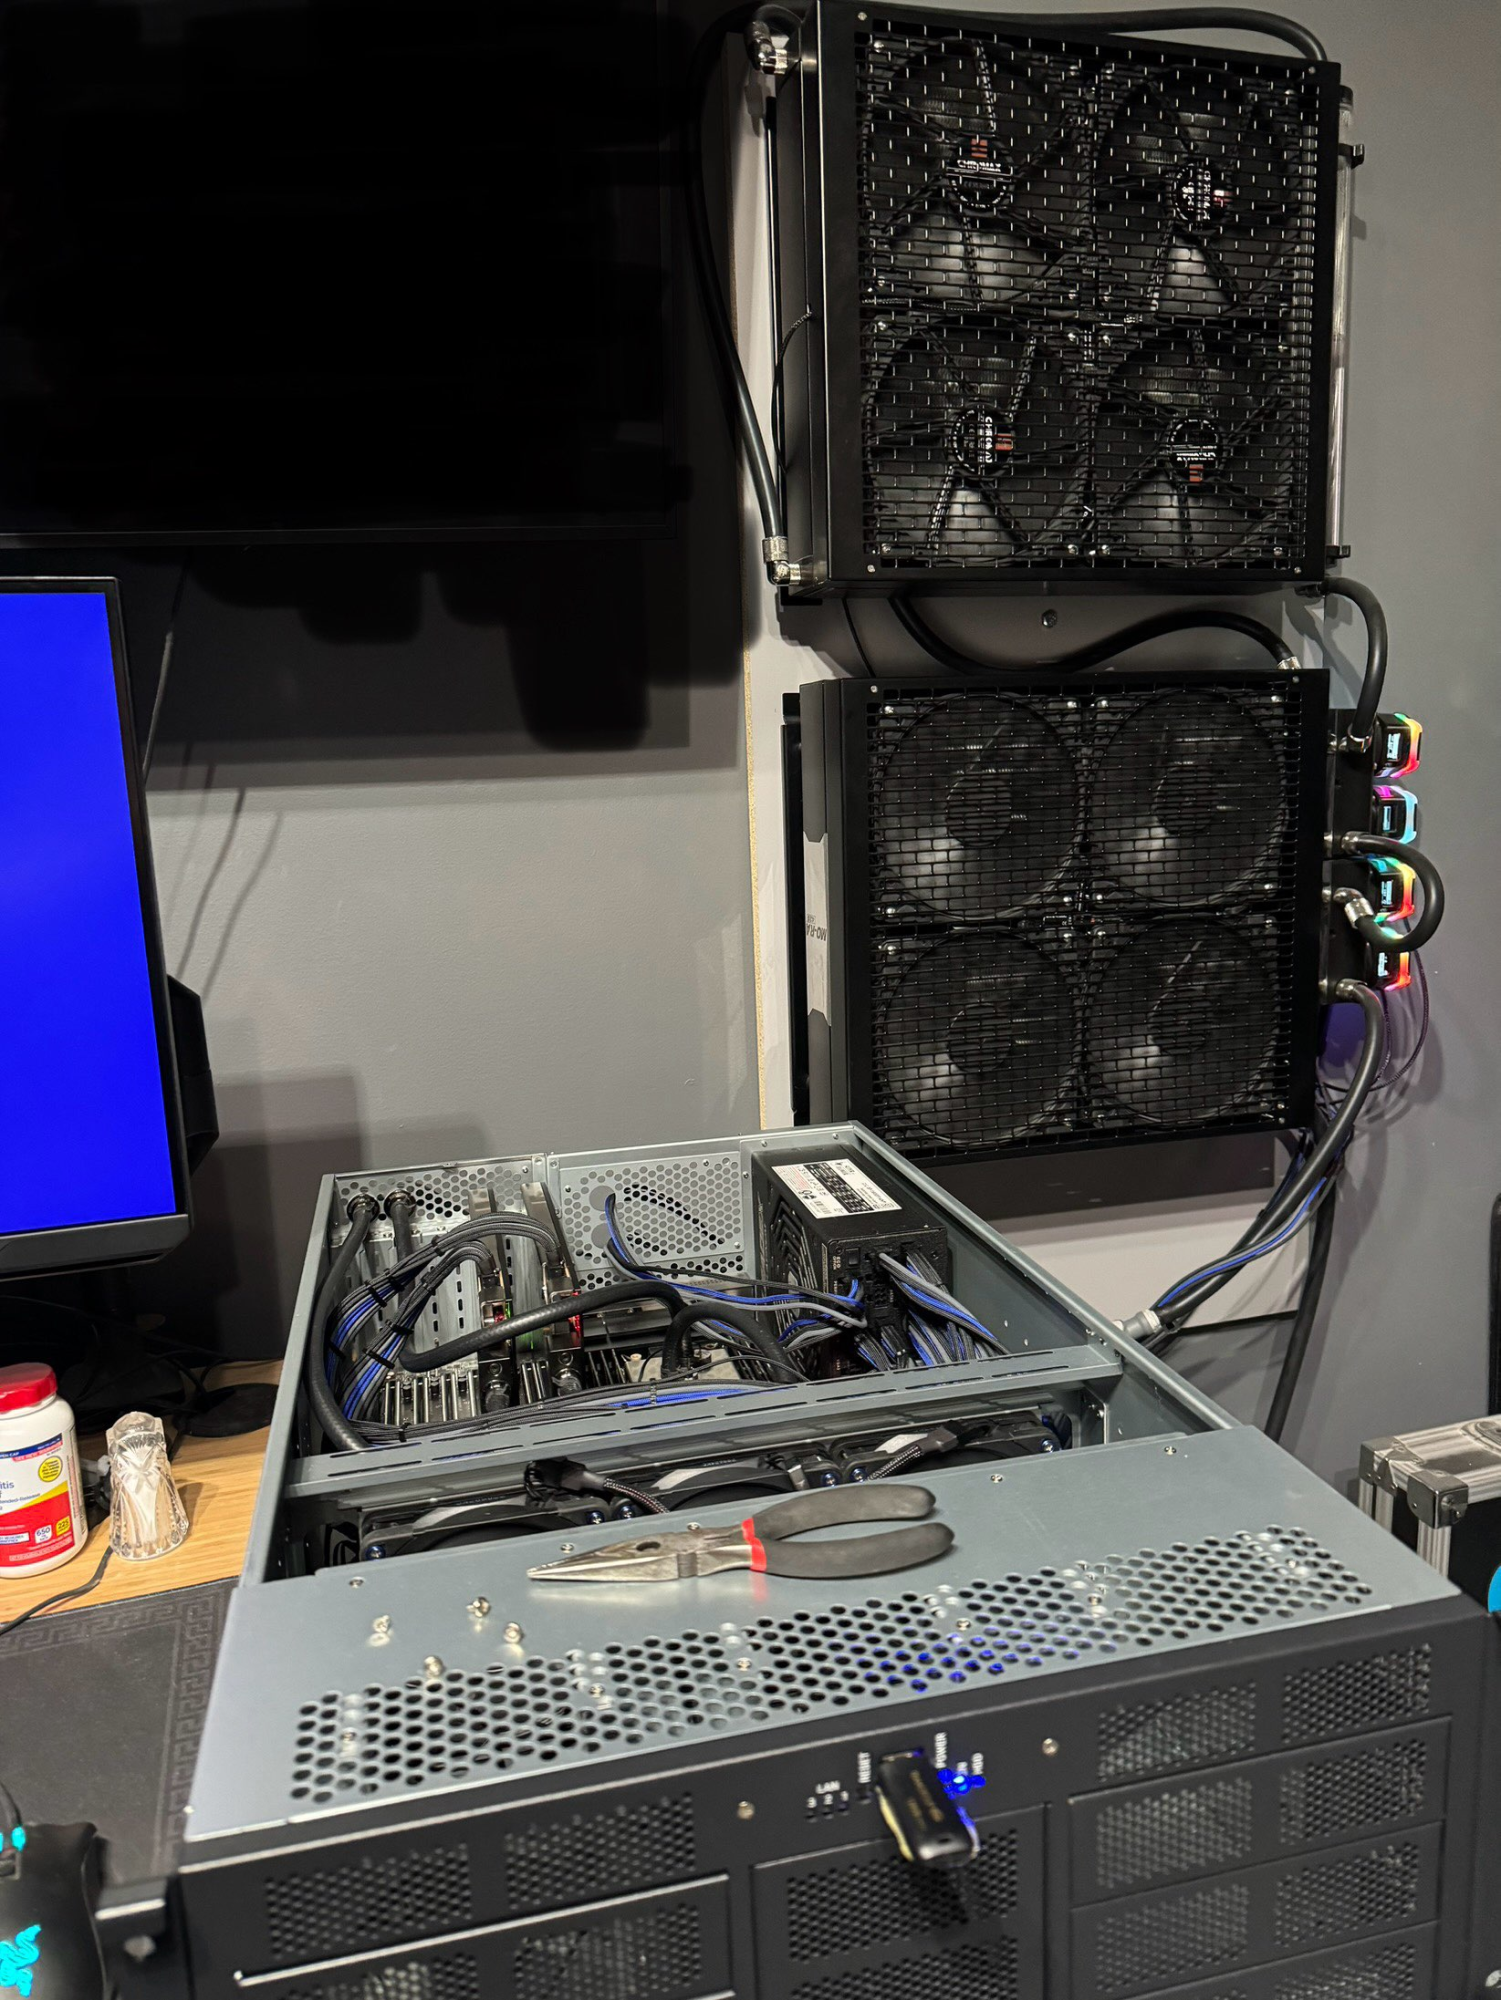
Rack mounted and unlocked Xeon on water

German Muscle

Supreme [H]ardness
Joined
Aug 2, 2005
Messages
6,951
Build Name: undecided yet, open to suggestions

Purpose: This machines intended use is a server VMs that require really fast CPUs and storage for testing VMs between regular server and a super high frequency CPU/fast storage to see how it changes or if it does. I selected hardware that is versatle for me in the way of this use or if i take it down i can use it as another system or can have OC fun with it. I wont ever get rid of it so if i stop using it then i will just display the board on a shelf. This is also my first foray into watercooling in the enterprise and/or homelab. So this is also wrapping my mind around that and trying to plan for it and scenarios if something goes sideways.

Status: Some parts on hand, acquiring parts, planning measuring.

PC Parts List
Case: Alphacool ES 4u Rackmount Case ✅
CPU: Intel Xeon W-7175x 28c/56t Processor ✅
MB: EVGA SR3 Dark Motherboard ✅
RAM: 6x16GB G Skill Trident Z 3600 DDR4 ✅
GPU: Asrock Arc 380 ✅
Boot SSD: Micron 256GB M.2 ✅
VM Storage: Asus Hyper M2 Card/ 4x WD Black SN850x 1TB in Raid 10 ✅
PSU: Corsair HX1000i ✅
NIC: Intel XL710-QDA2 Network Card

WC Parts List
CPU Block: EKWB Annihilator Pro ✅
Radiator: Alphacool XT45 360 ✅
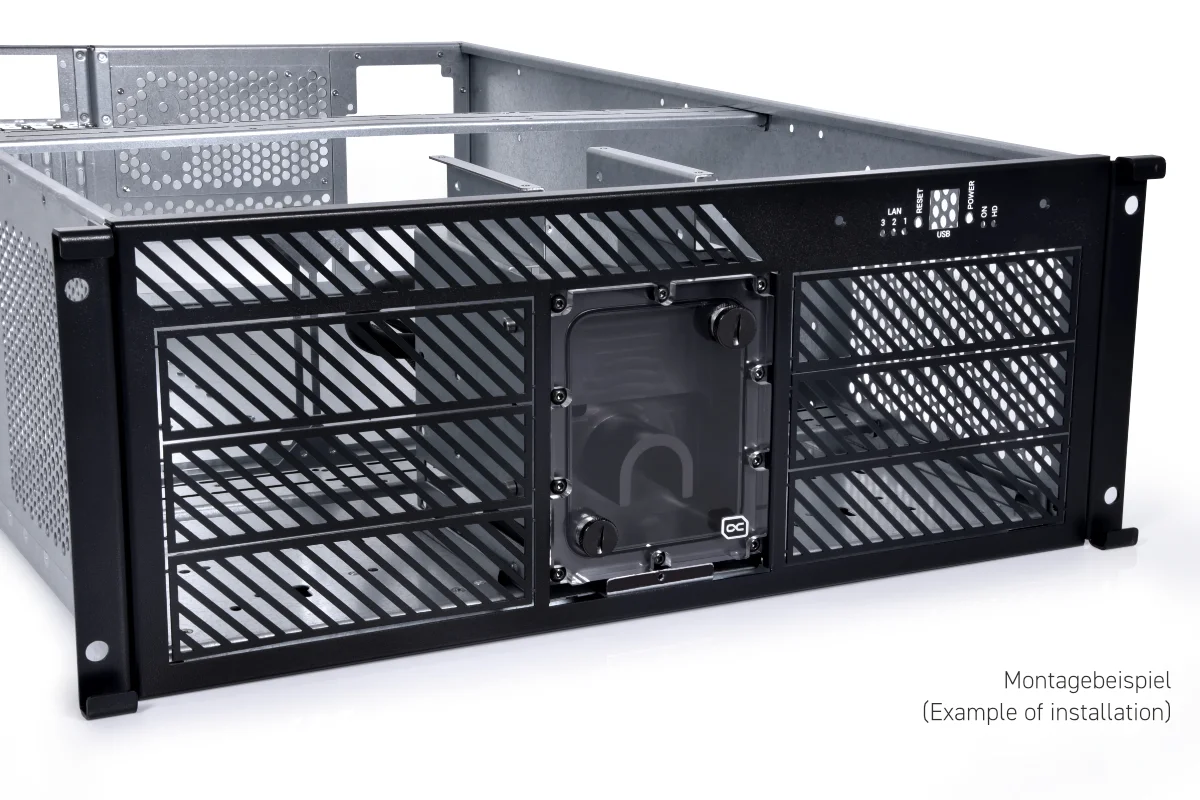
Reservoir: Alphacool ES 4u Front res with D5 top ✅
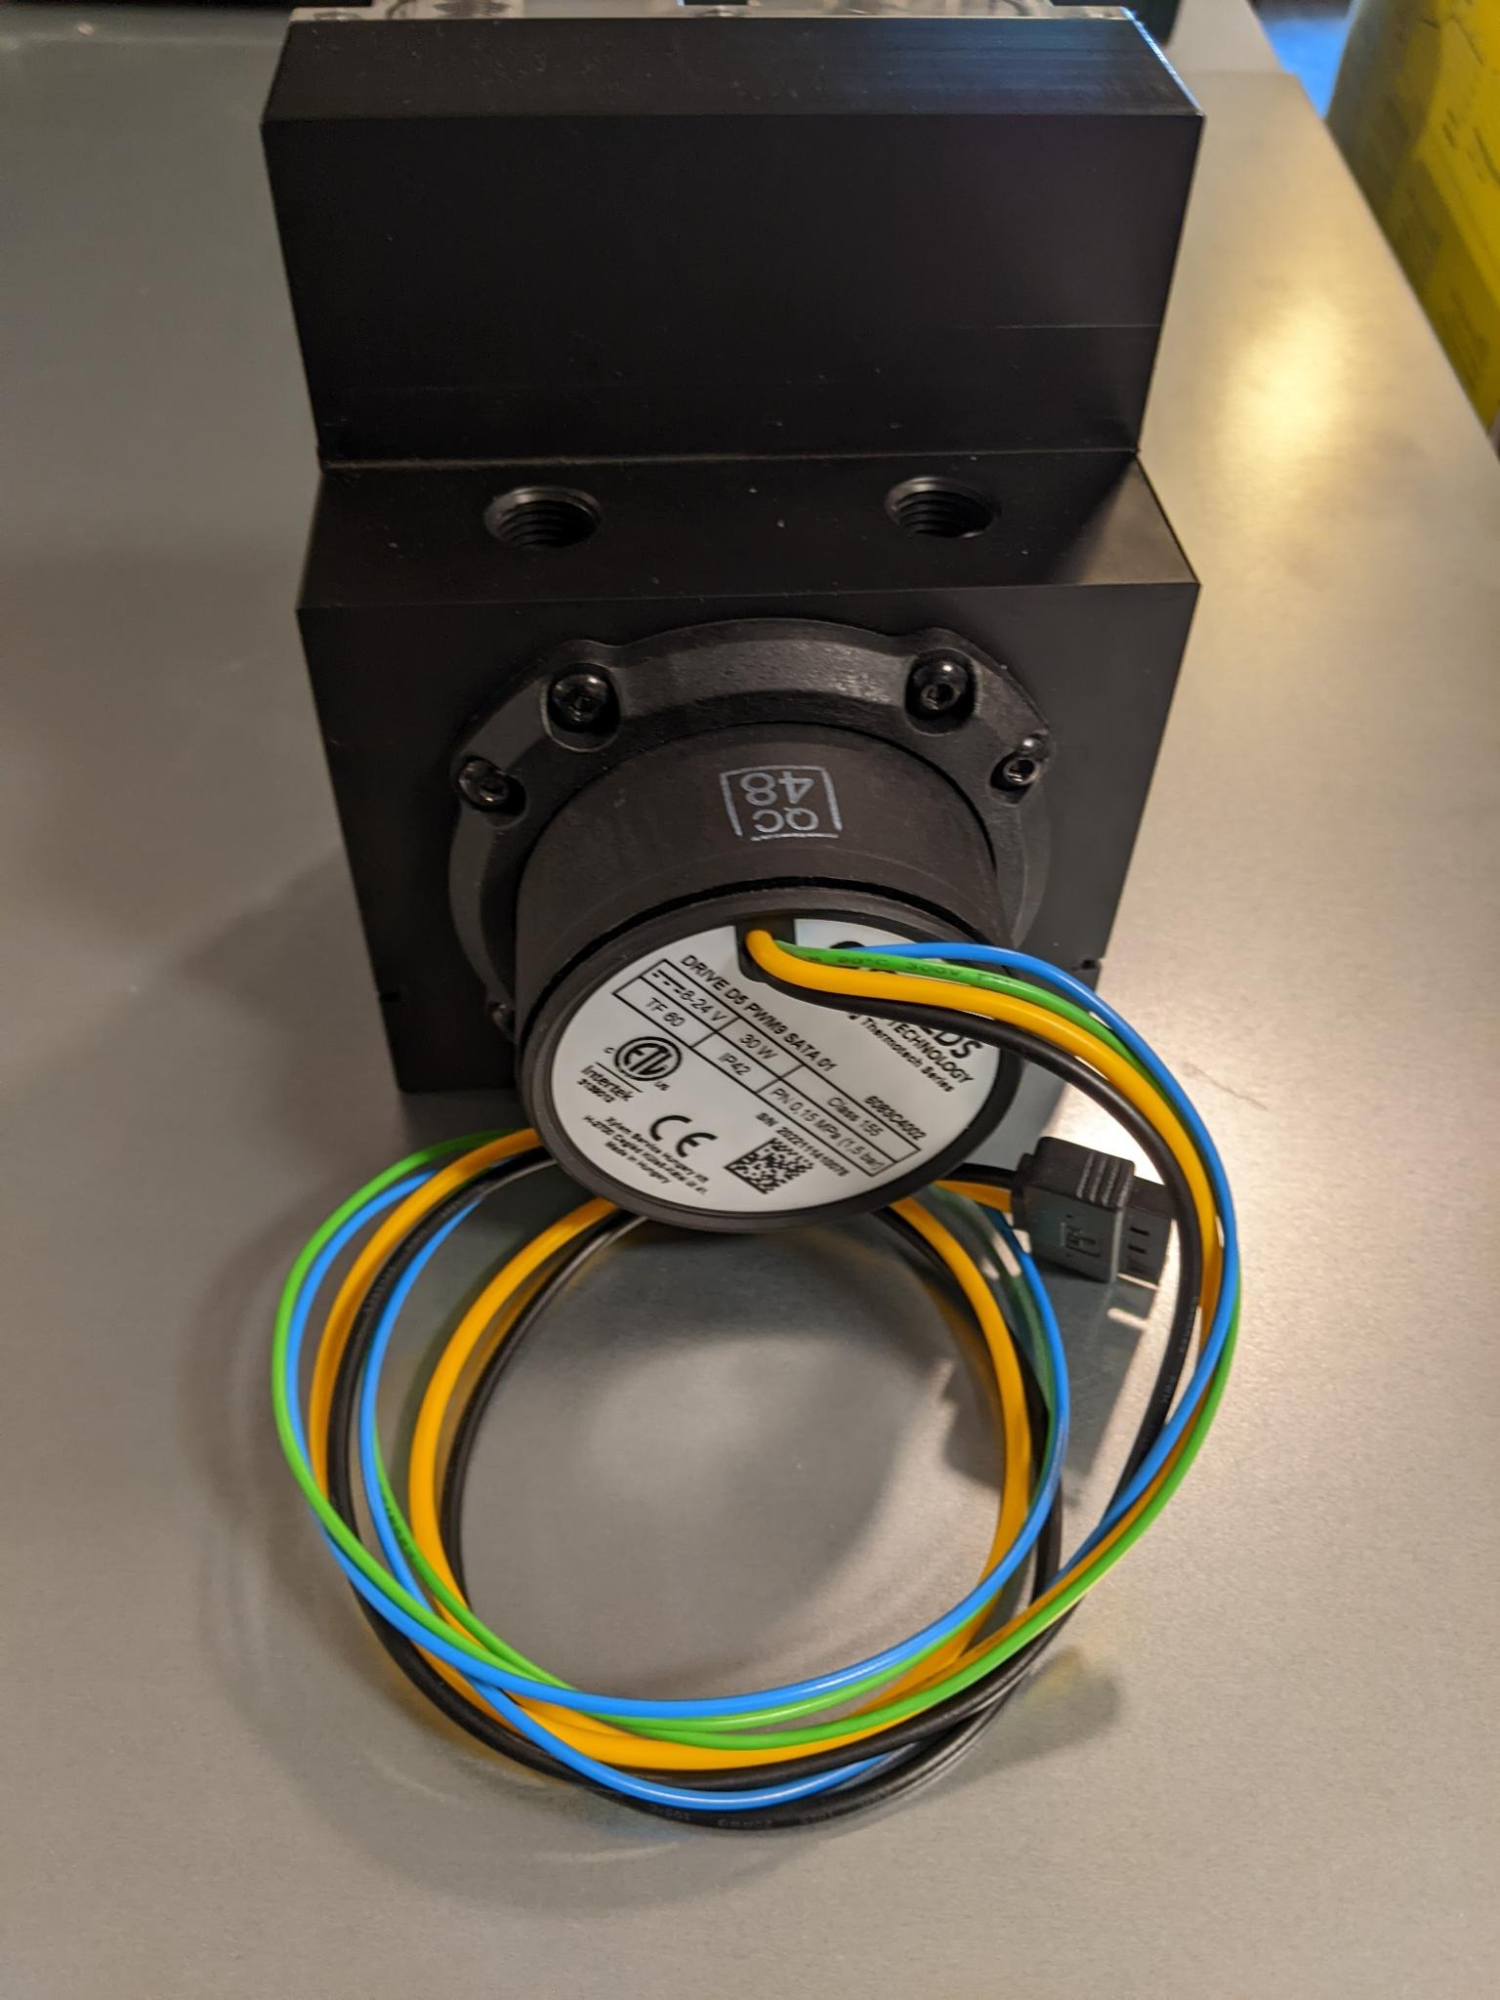
Pump: Either XSPC D5 with sata power or Optimus/Xylem D5 with sata power ✅
Fittings: Bitspower Black. Still working out the details on this as im unsure if im going to run the cpu block & motherboard block in series or parallel. ✅
Tubing: EPDM 1/2x3/4 ✅
Fans: Noctua NF-F12 Industrial 3000 x8

I got the case in after a long wait for restock at Performance PCs.
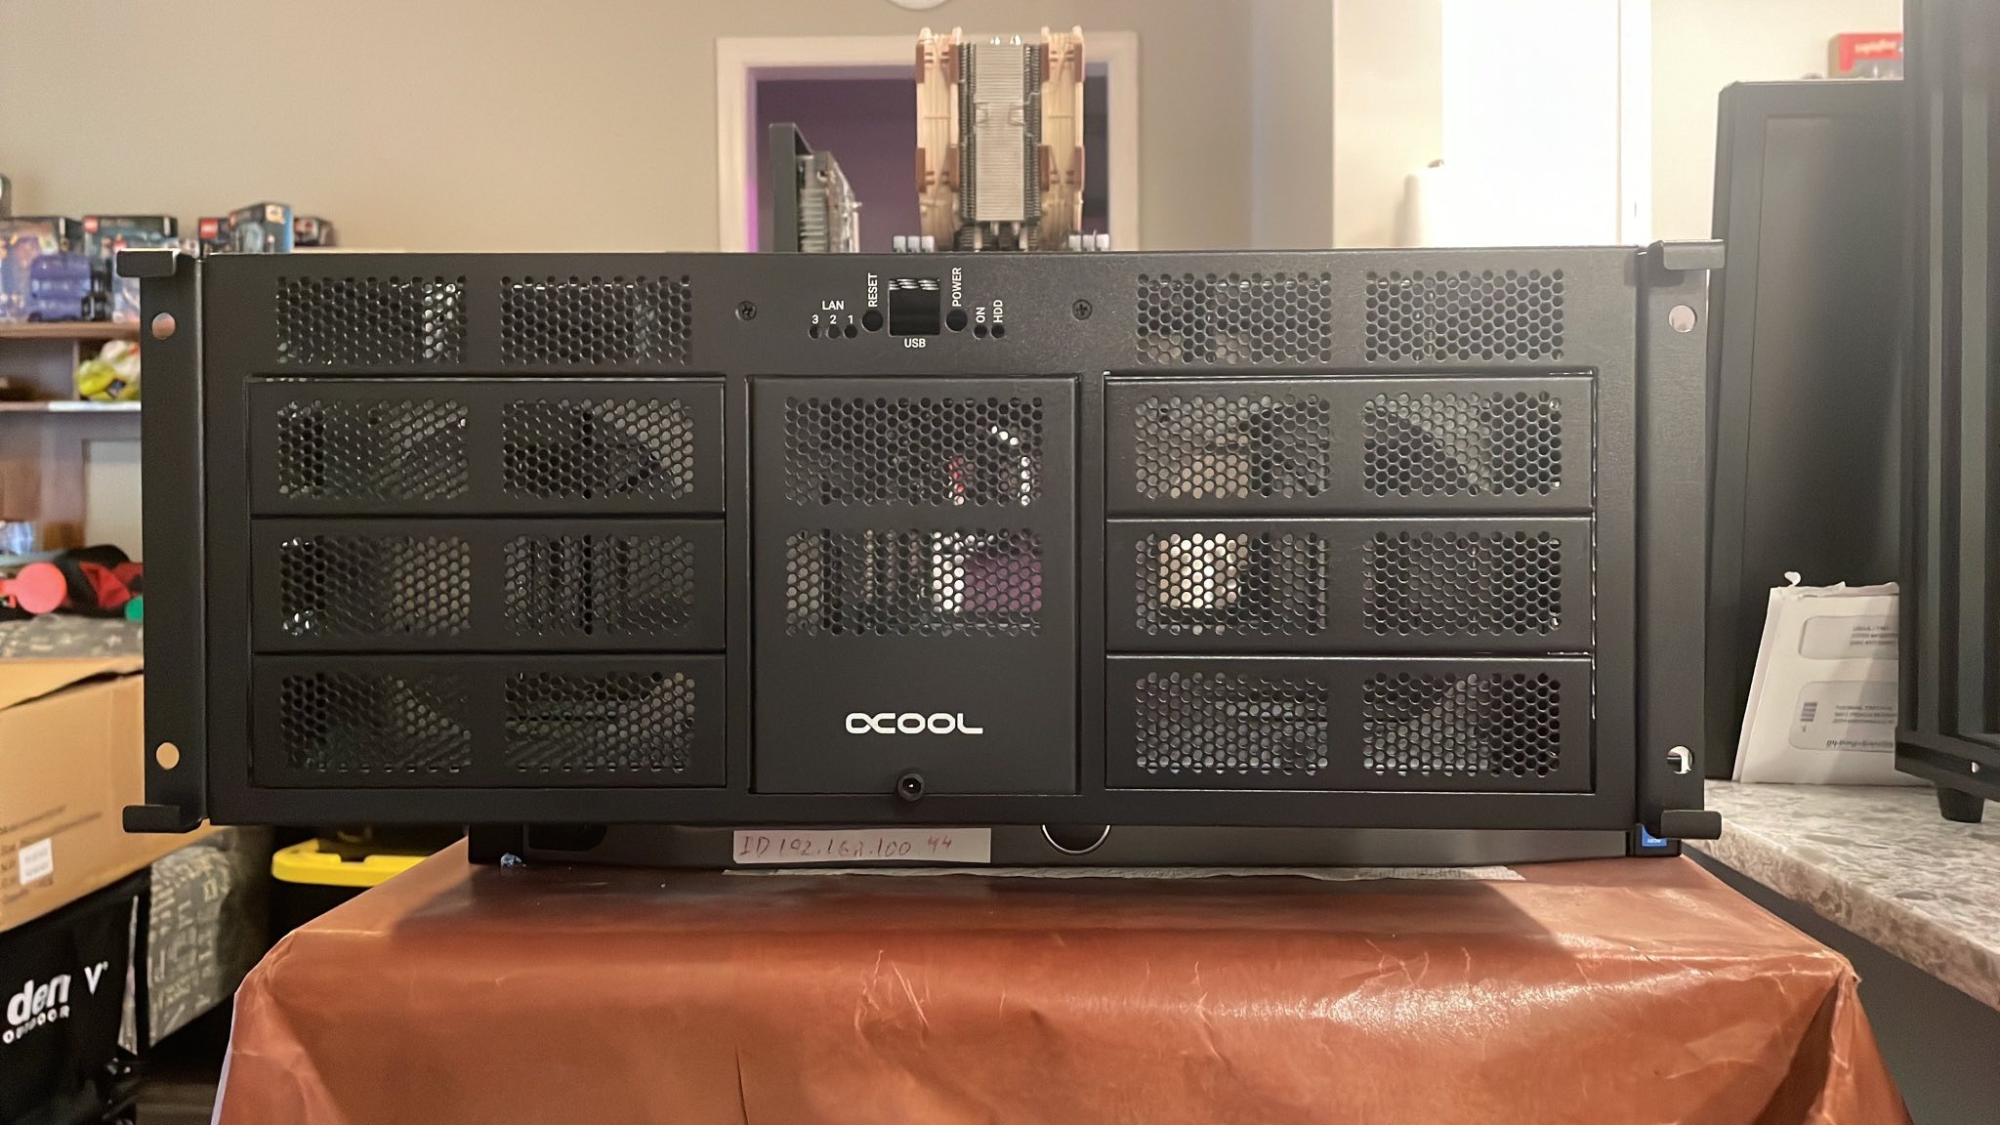
1691860878749.png
1691860957023.png


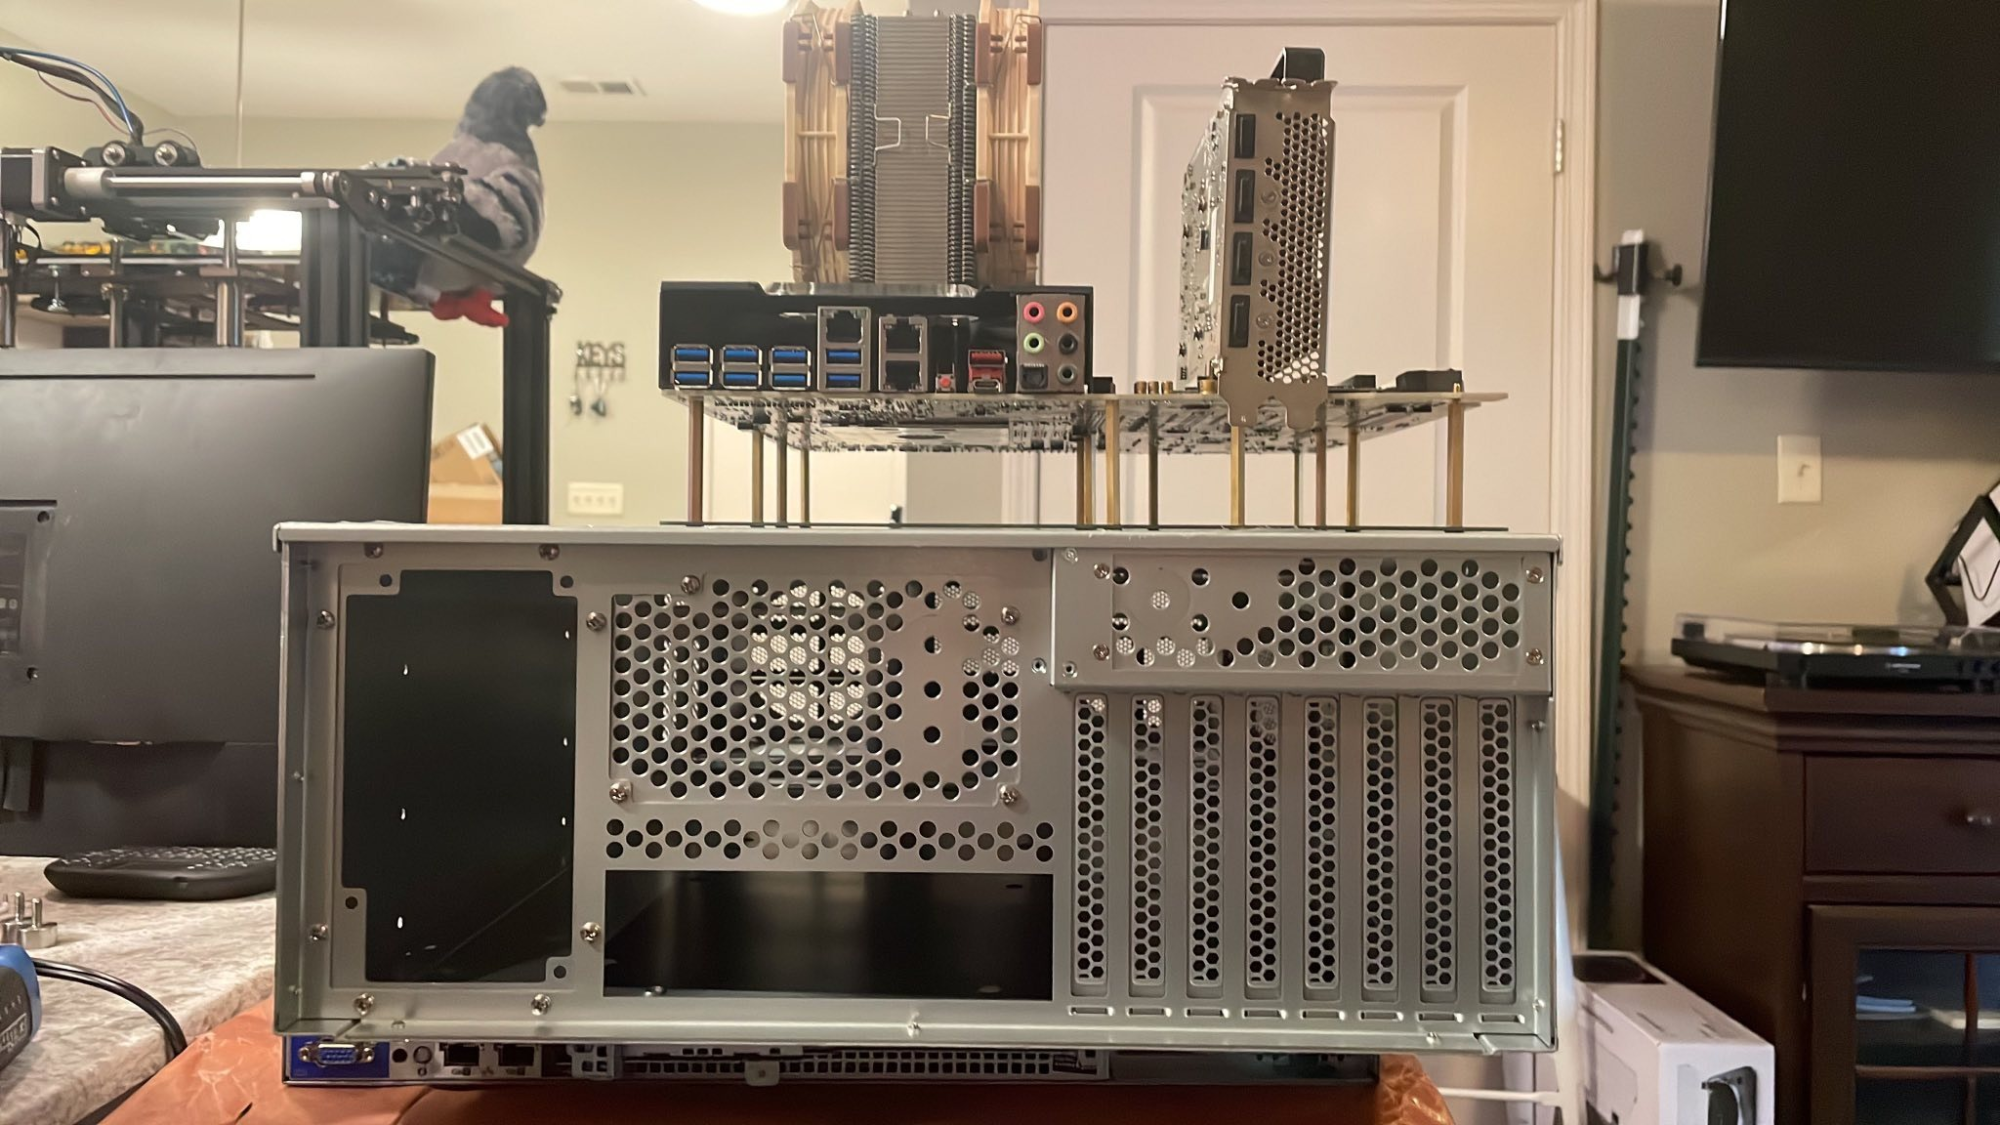
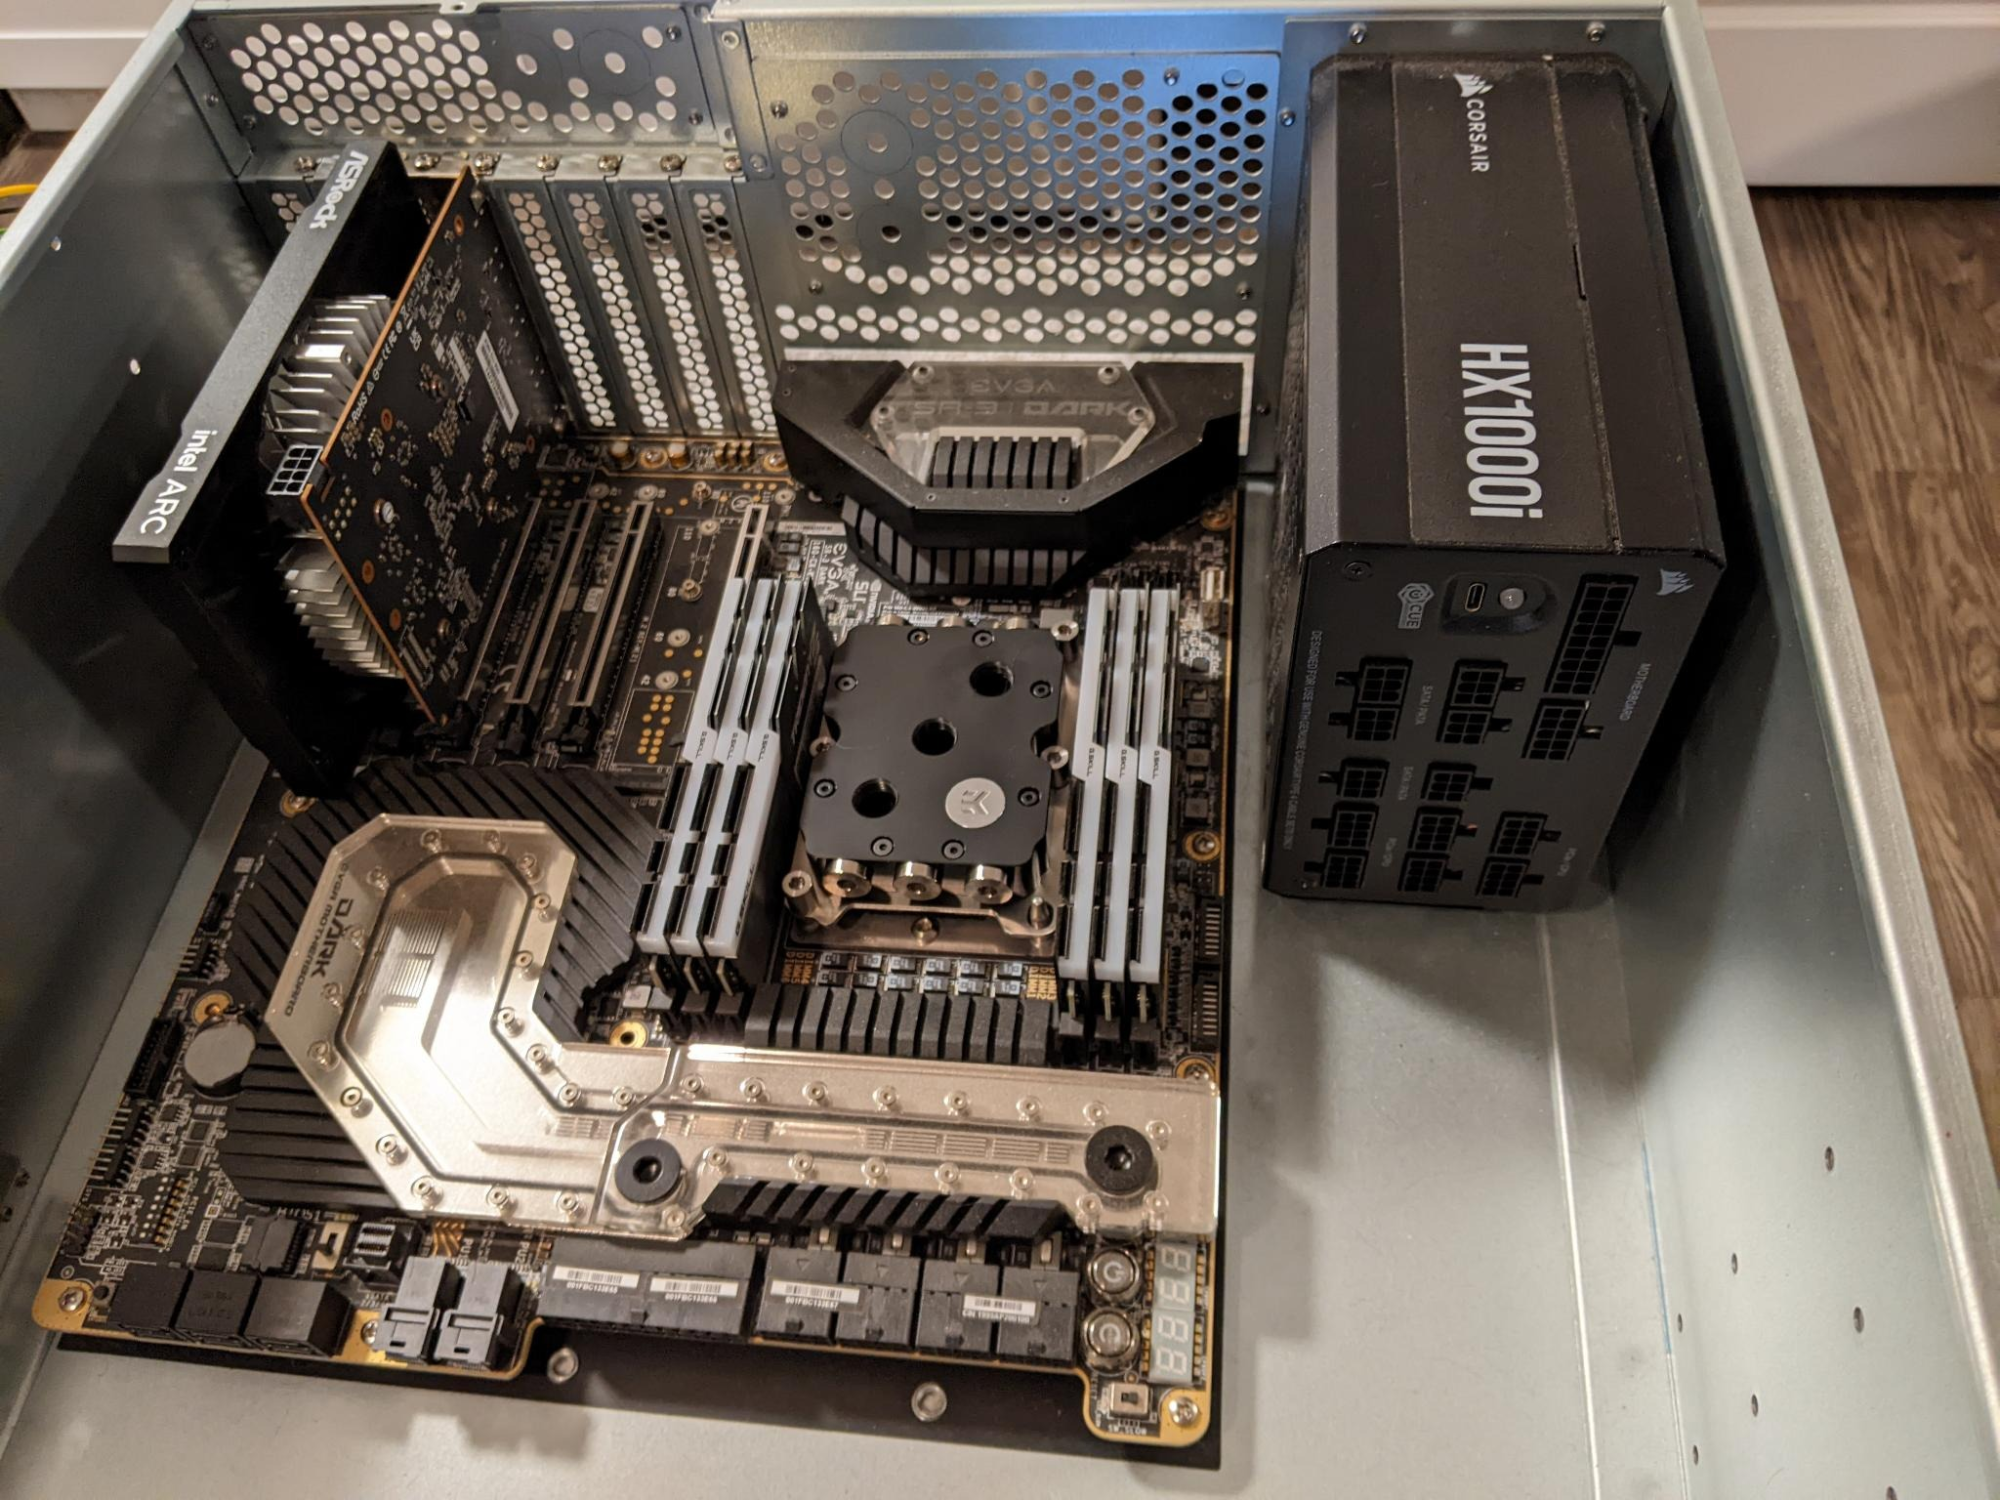
Here is a pic from when i was pretesting the hardware.
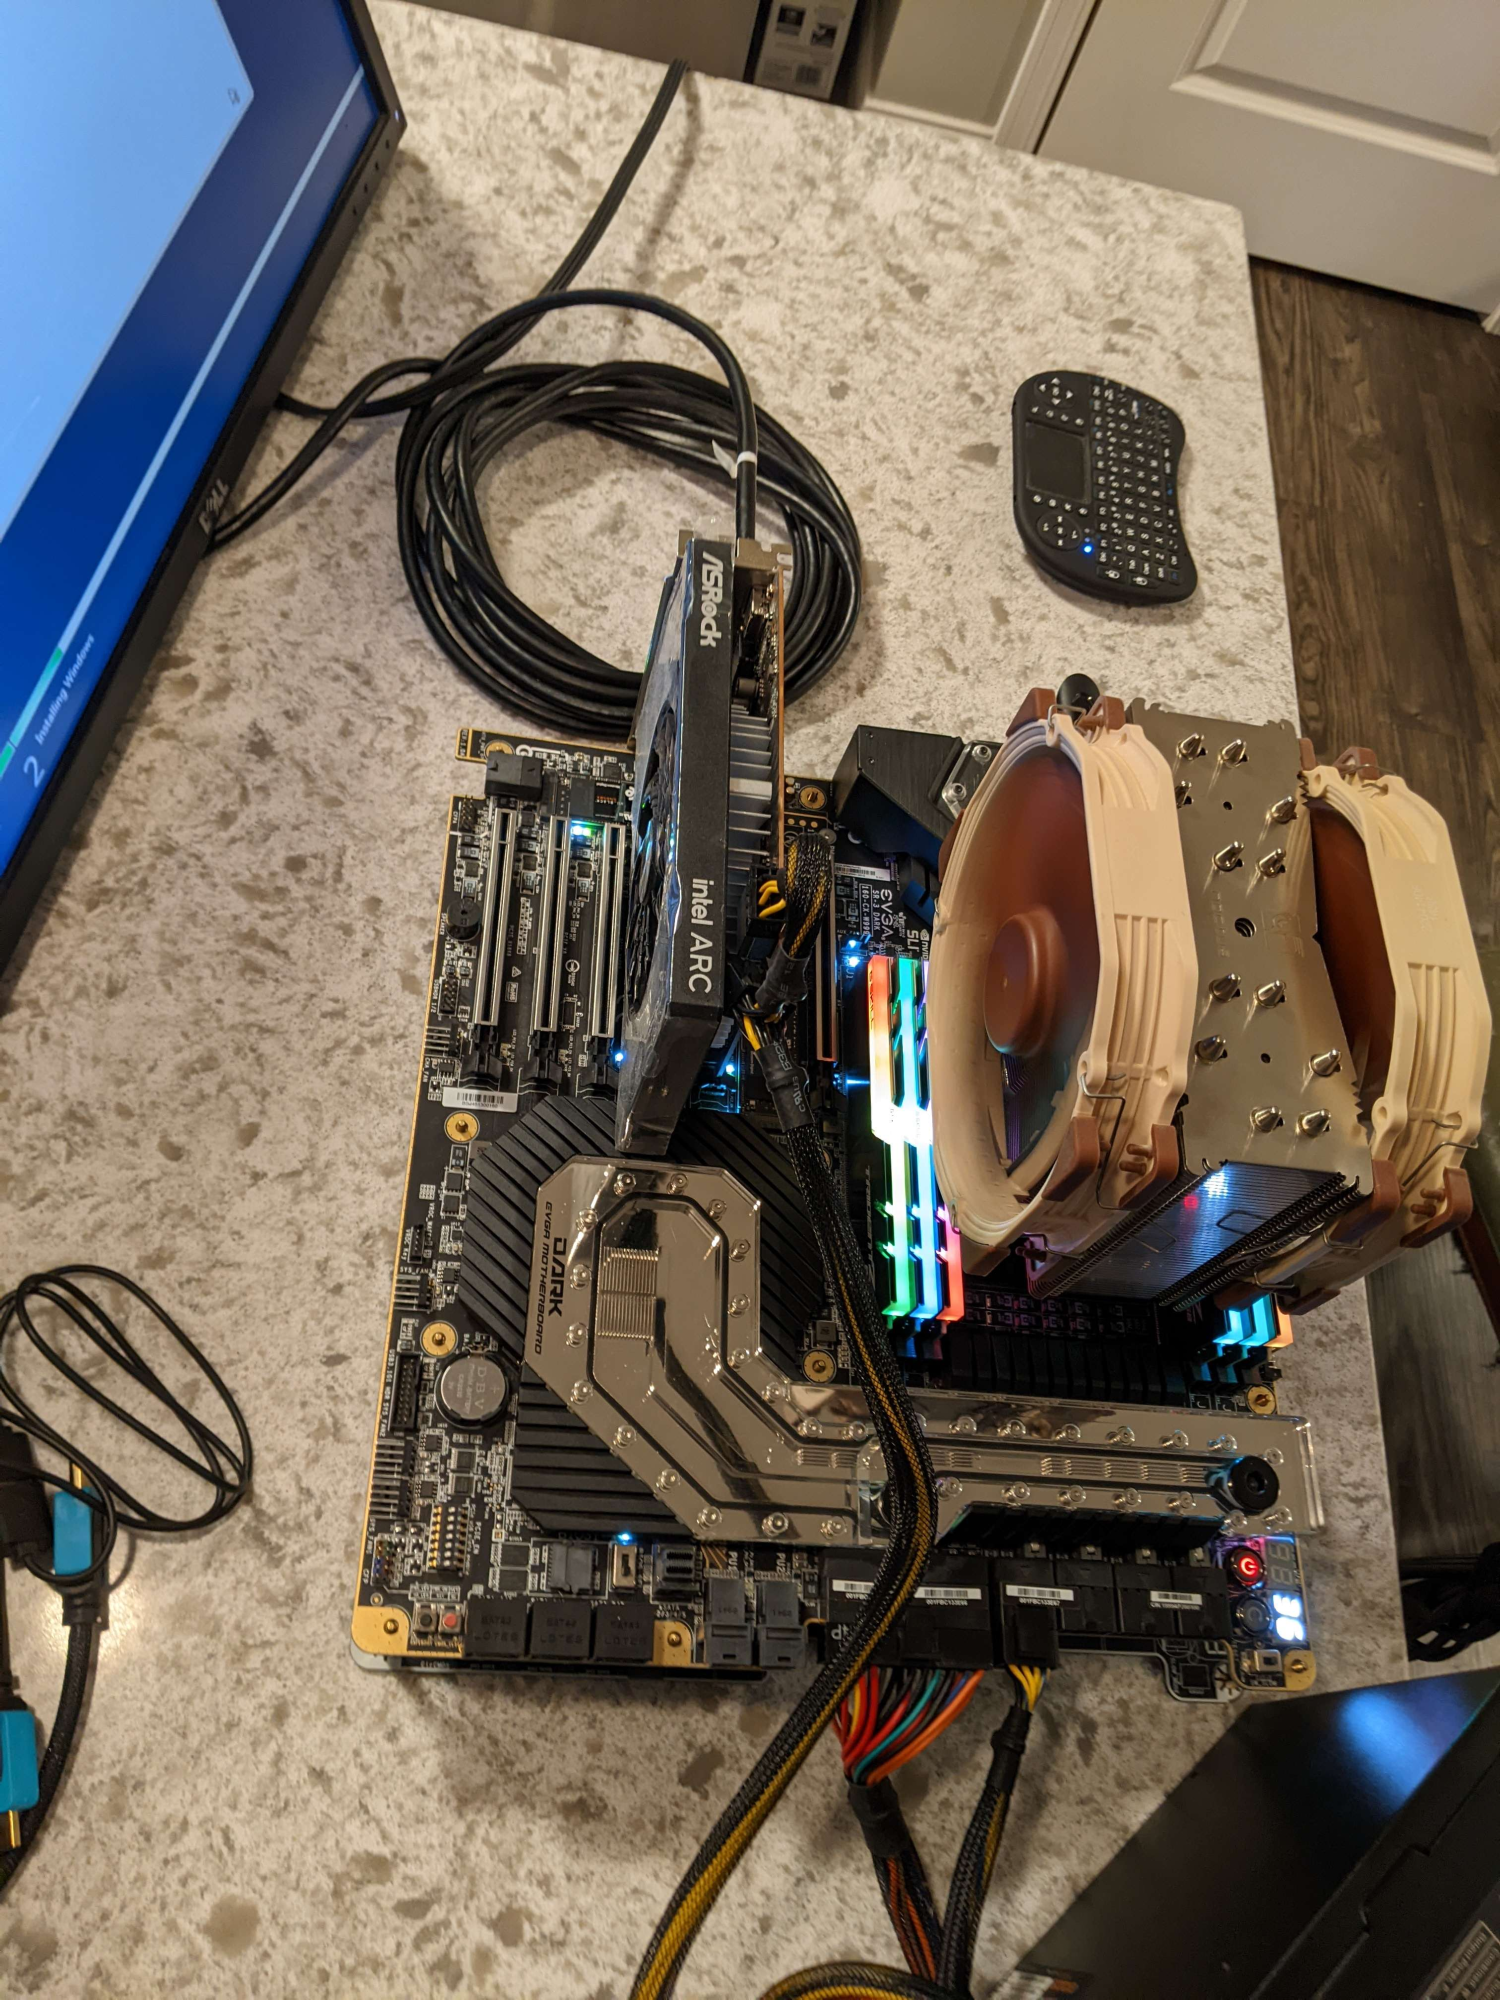
1691861038576.png
 
Last edited:
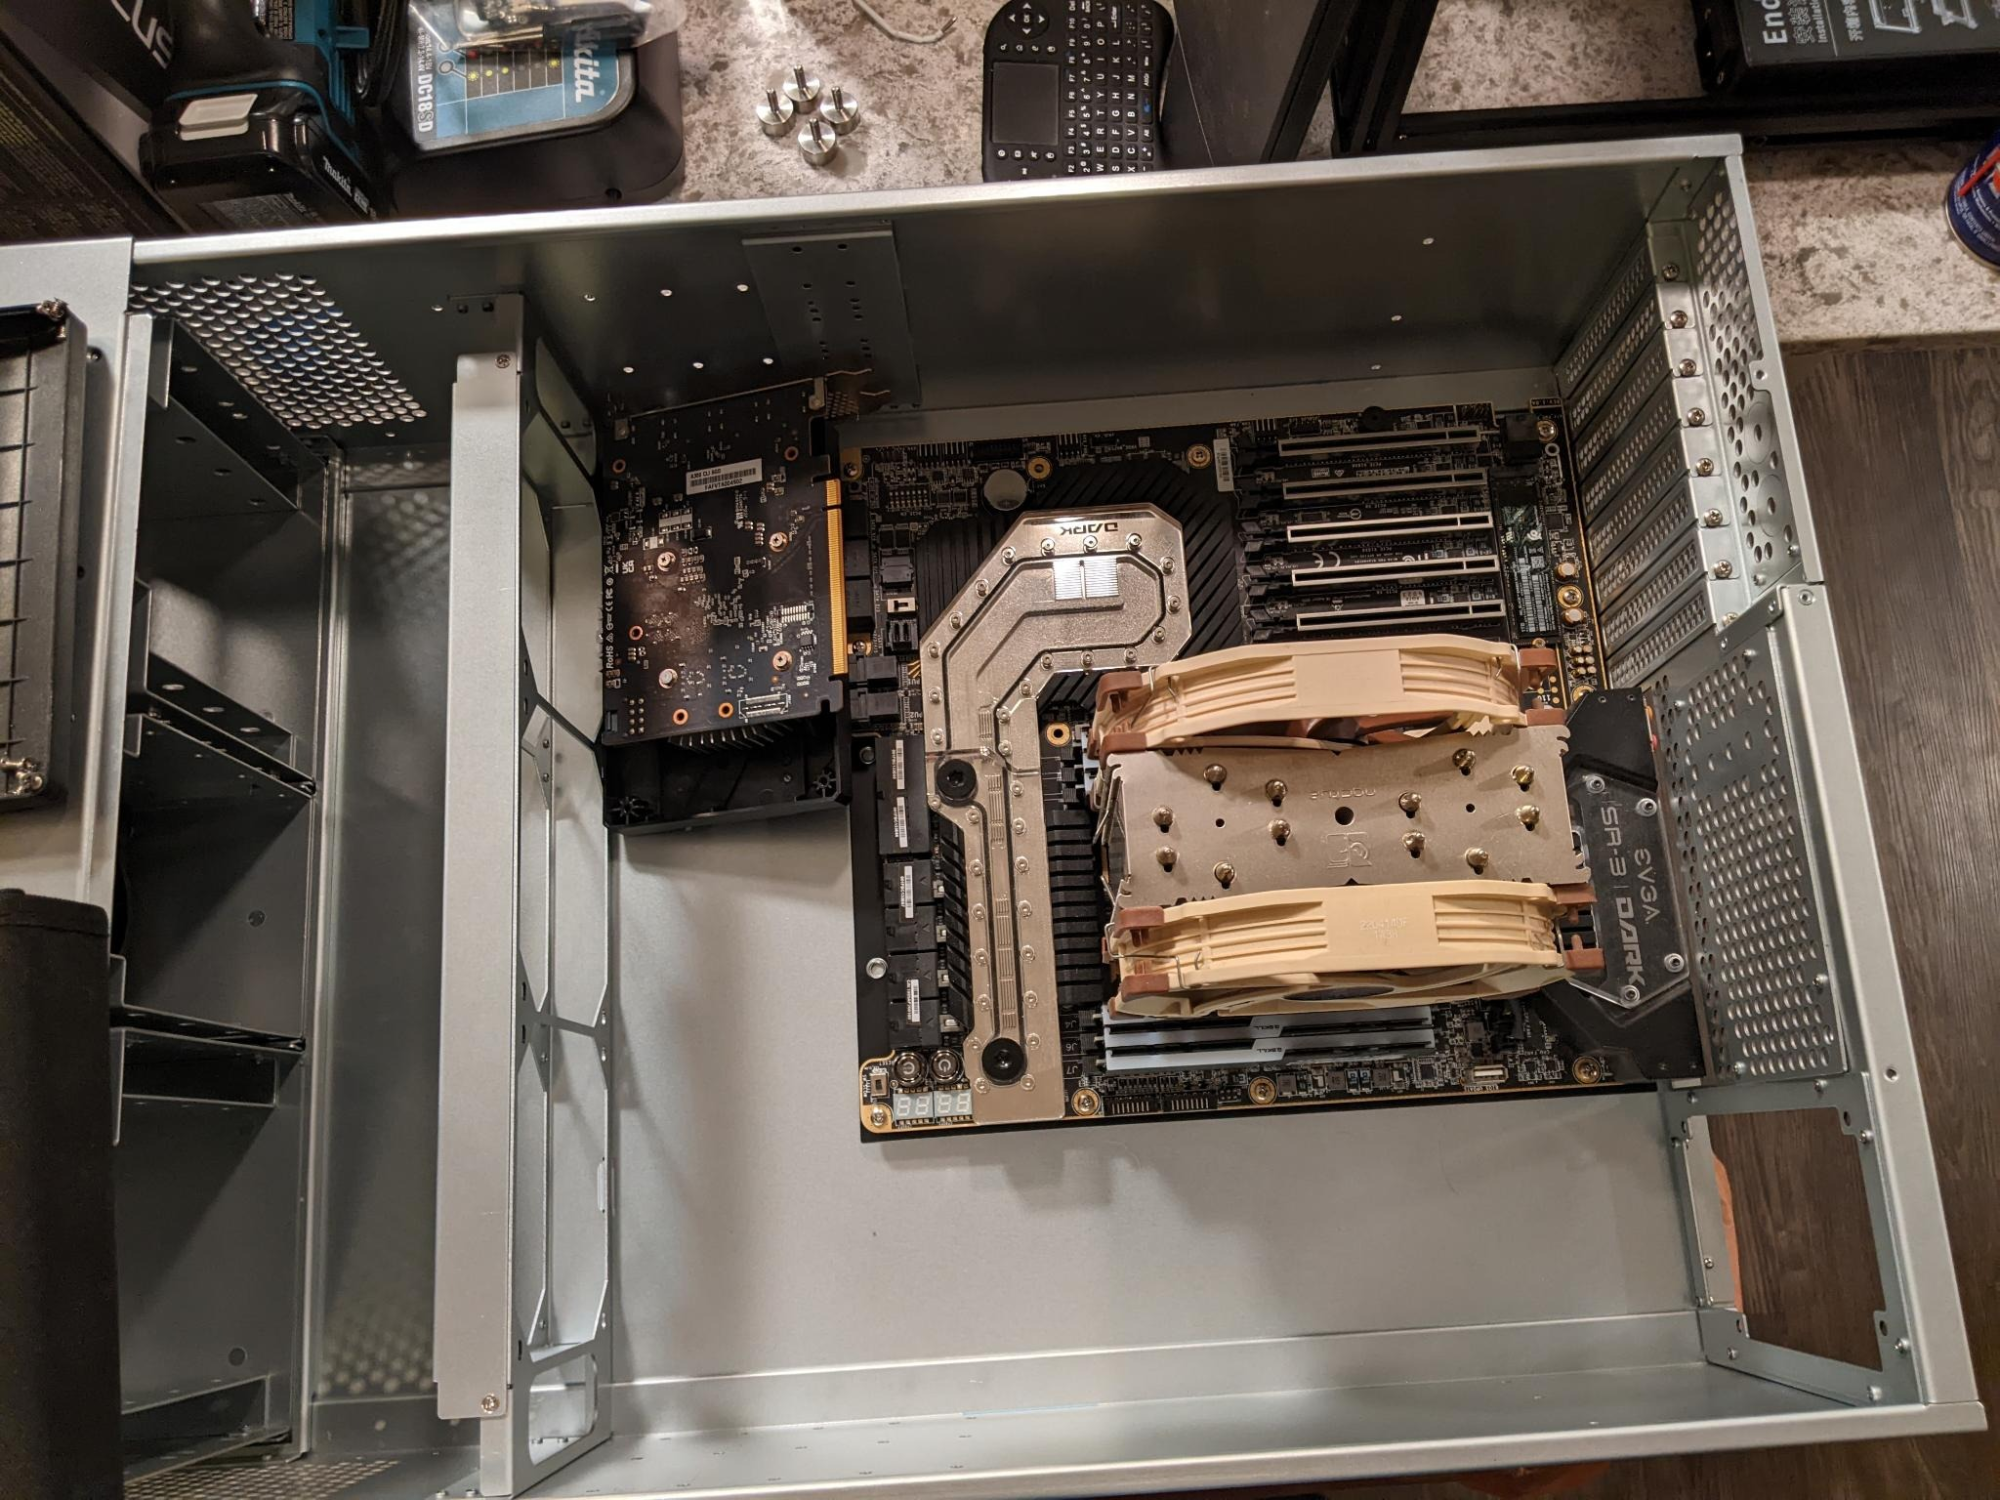
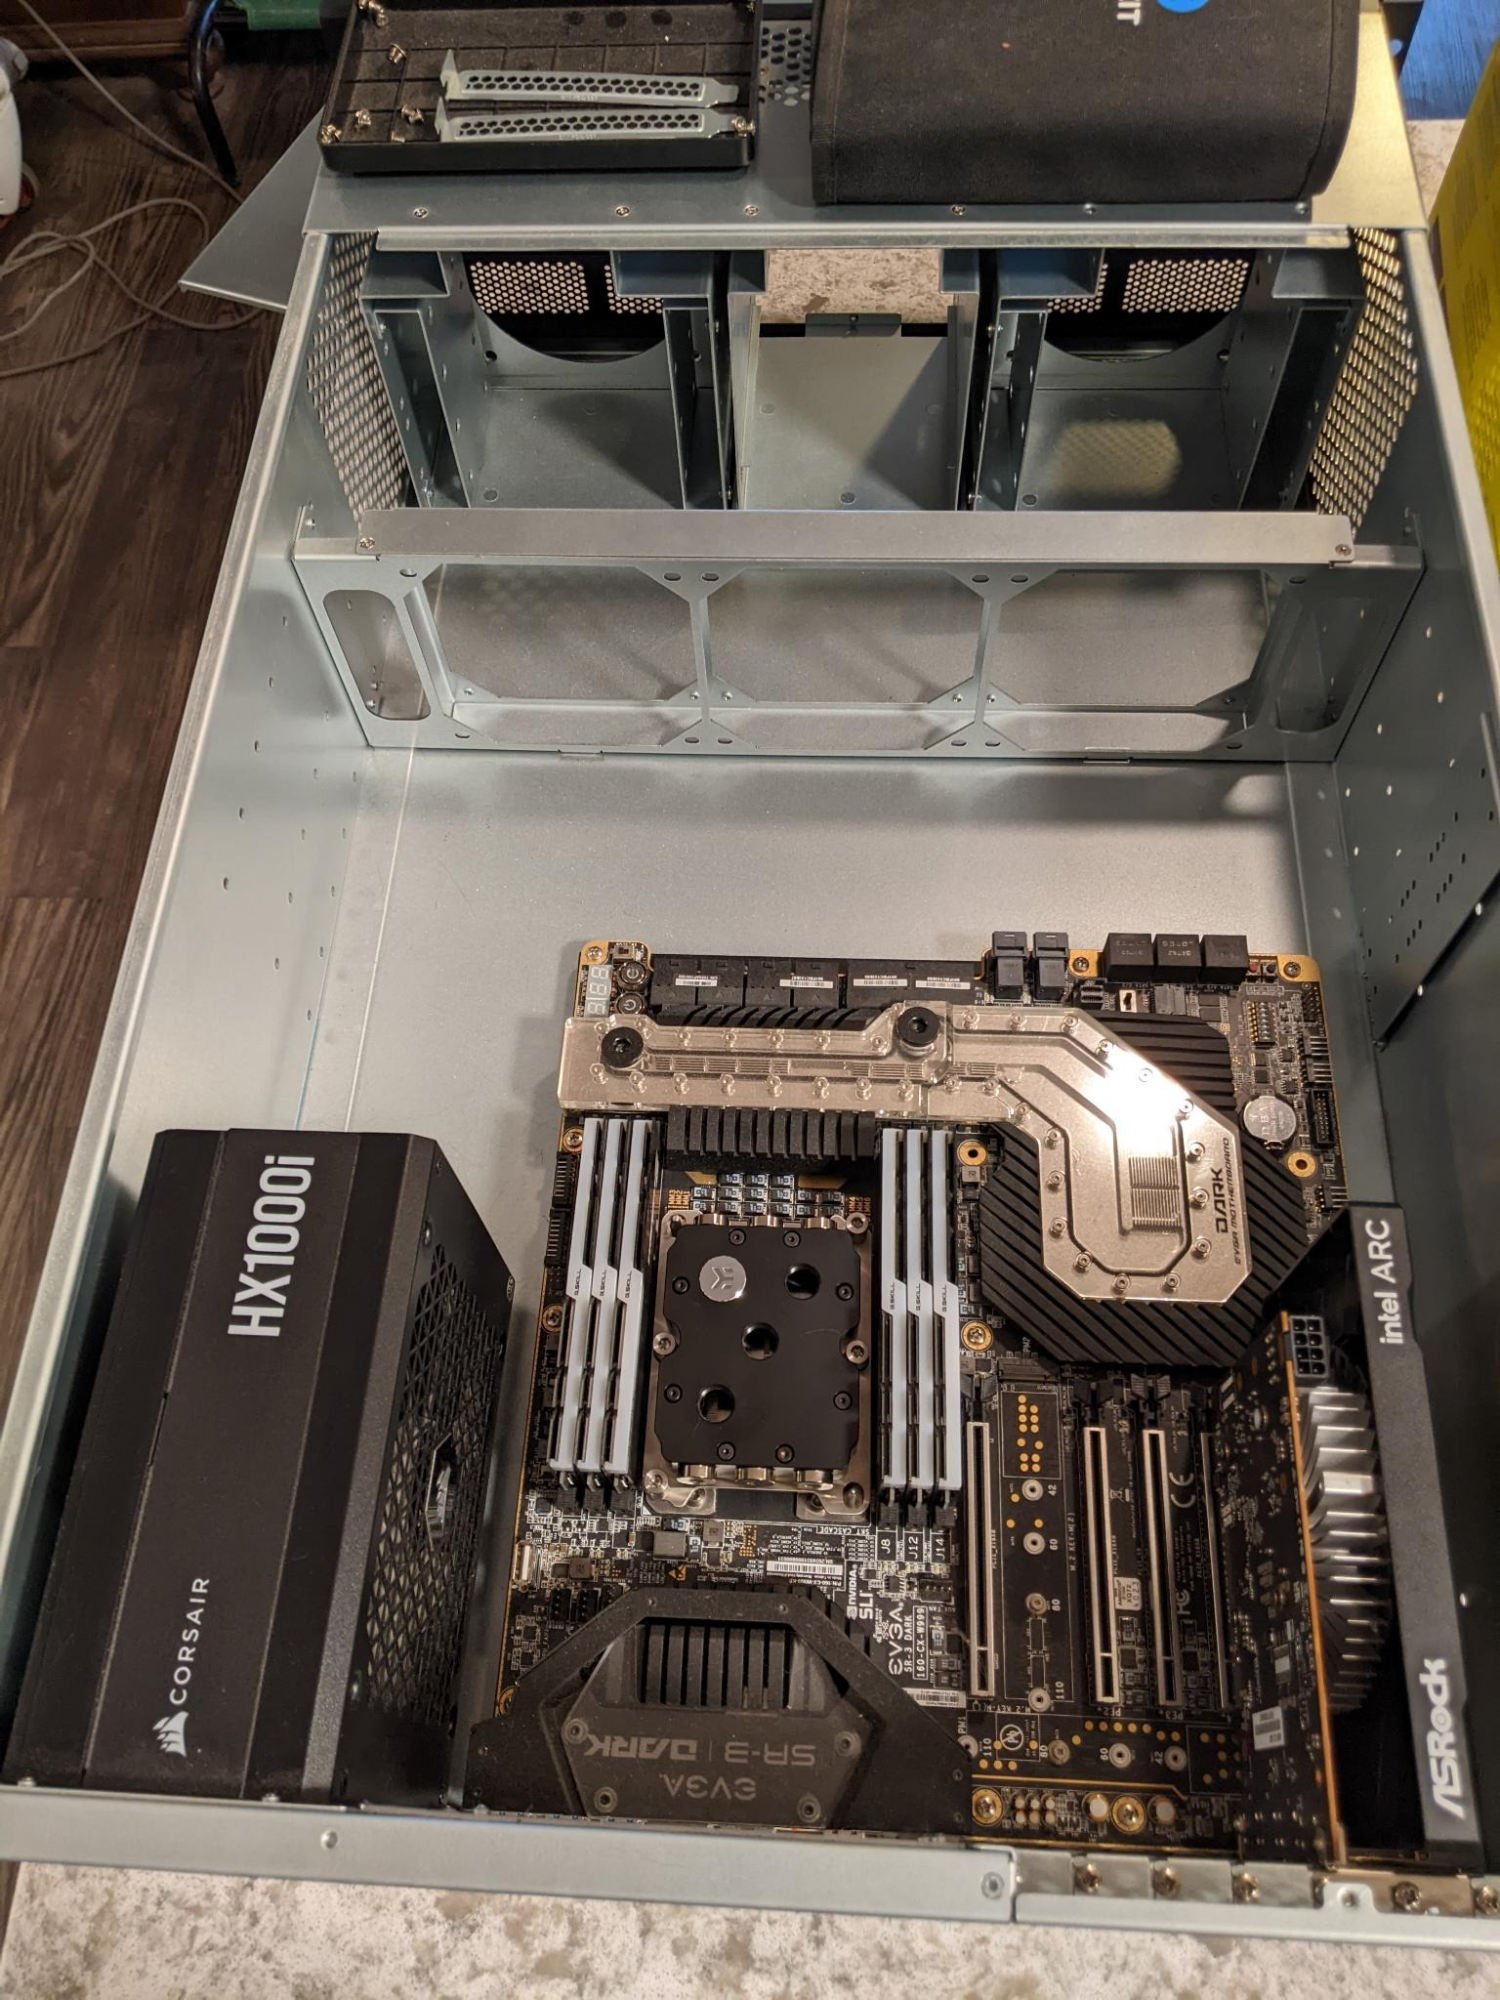
Finally got the board into the Chassis. Now i can start planning my angle of attack. The Noctua Cooler is to tall to put the top cover on. :eek:
1693232837845.png
 
I used the dynatron coolers for my SR-3s but I've got 8124ms or whatever they are in them not the 3175. I think I might sell them as a combo, I should put them in the FS section lol.
 
Went ahead and ordered the PSU. Went with the Corsair HX1000i. Went with this one because it uses type 4 cables and it was platinum. Planning on getting custom MDPC-X sleeving done by Bespoke Baka.
https://www.corsair.com/us/en/p/psu...m-atx-1000-watt-pc-power-supply-cp-9020259-na

Ordered the radiator as well.
Went with the Alphacool Monsta 360.
https://www.performance-pcs.com/wat...ool-nexxxos-monsta-360-radiator-ac-14182.html

I had initially thought of doing the board and cpu in a parallel setup but i will be going series instead. I also think im going to implement Koolance dry break disconnects. Once i get the PSU in and the rad mounted ill be able to get a better idea for what i want for tubing runs and fittings to accomplish it. Im also still contemplating filtration. We have two cats and a dog. So im trying to think up a way to get the entire front of it filtered and will be taping the ventilation holes in the sides and top and bottom off to promite a true tunnel for airflow. I also will need to put some foam on top of the radiator bracket so it cuts off the gap to prevent recirculation so its like a true forced airflow setup.
 
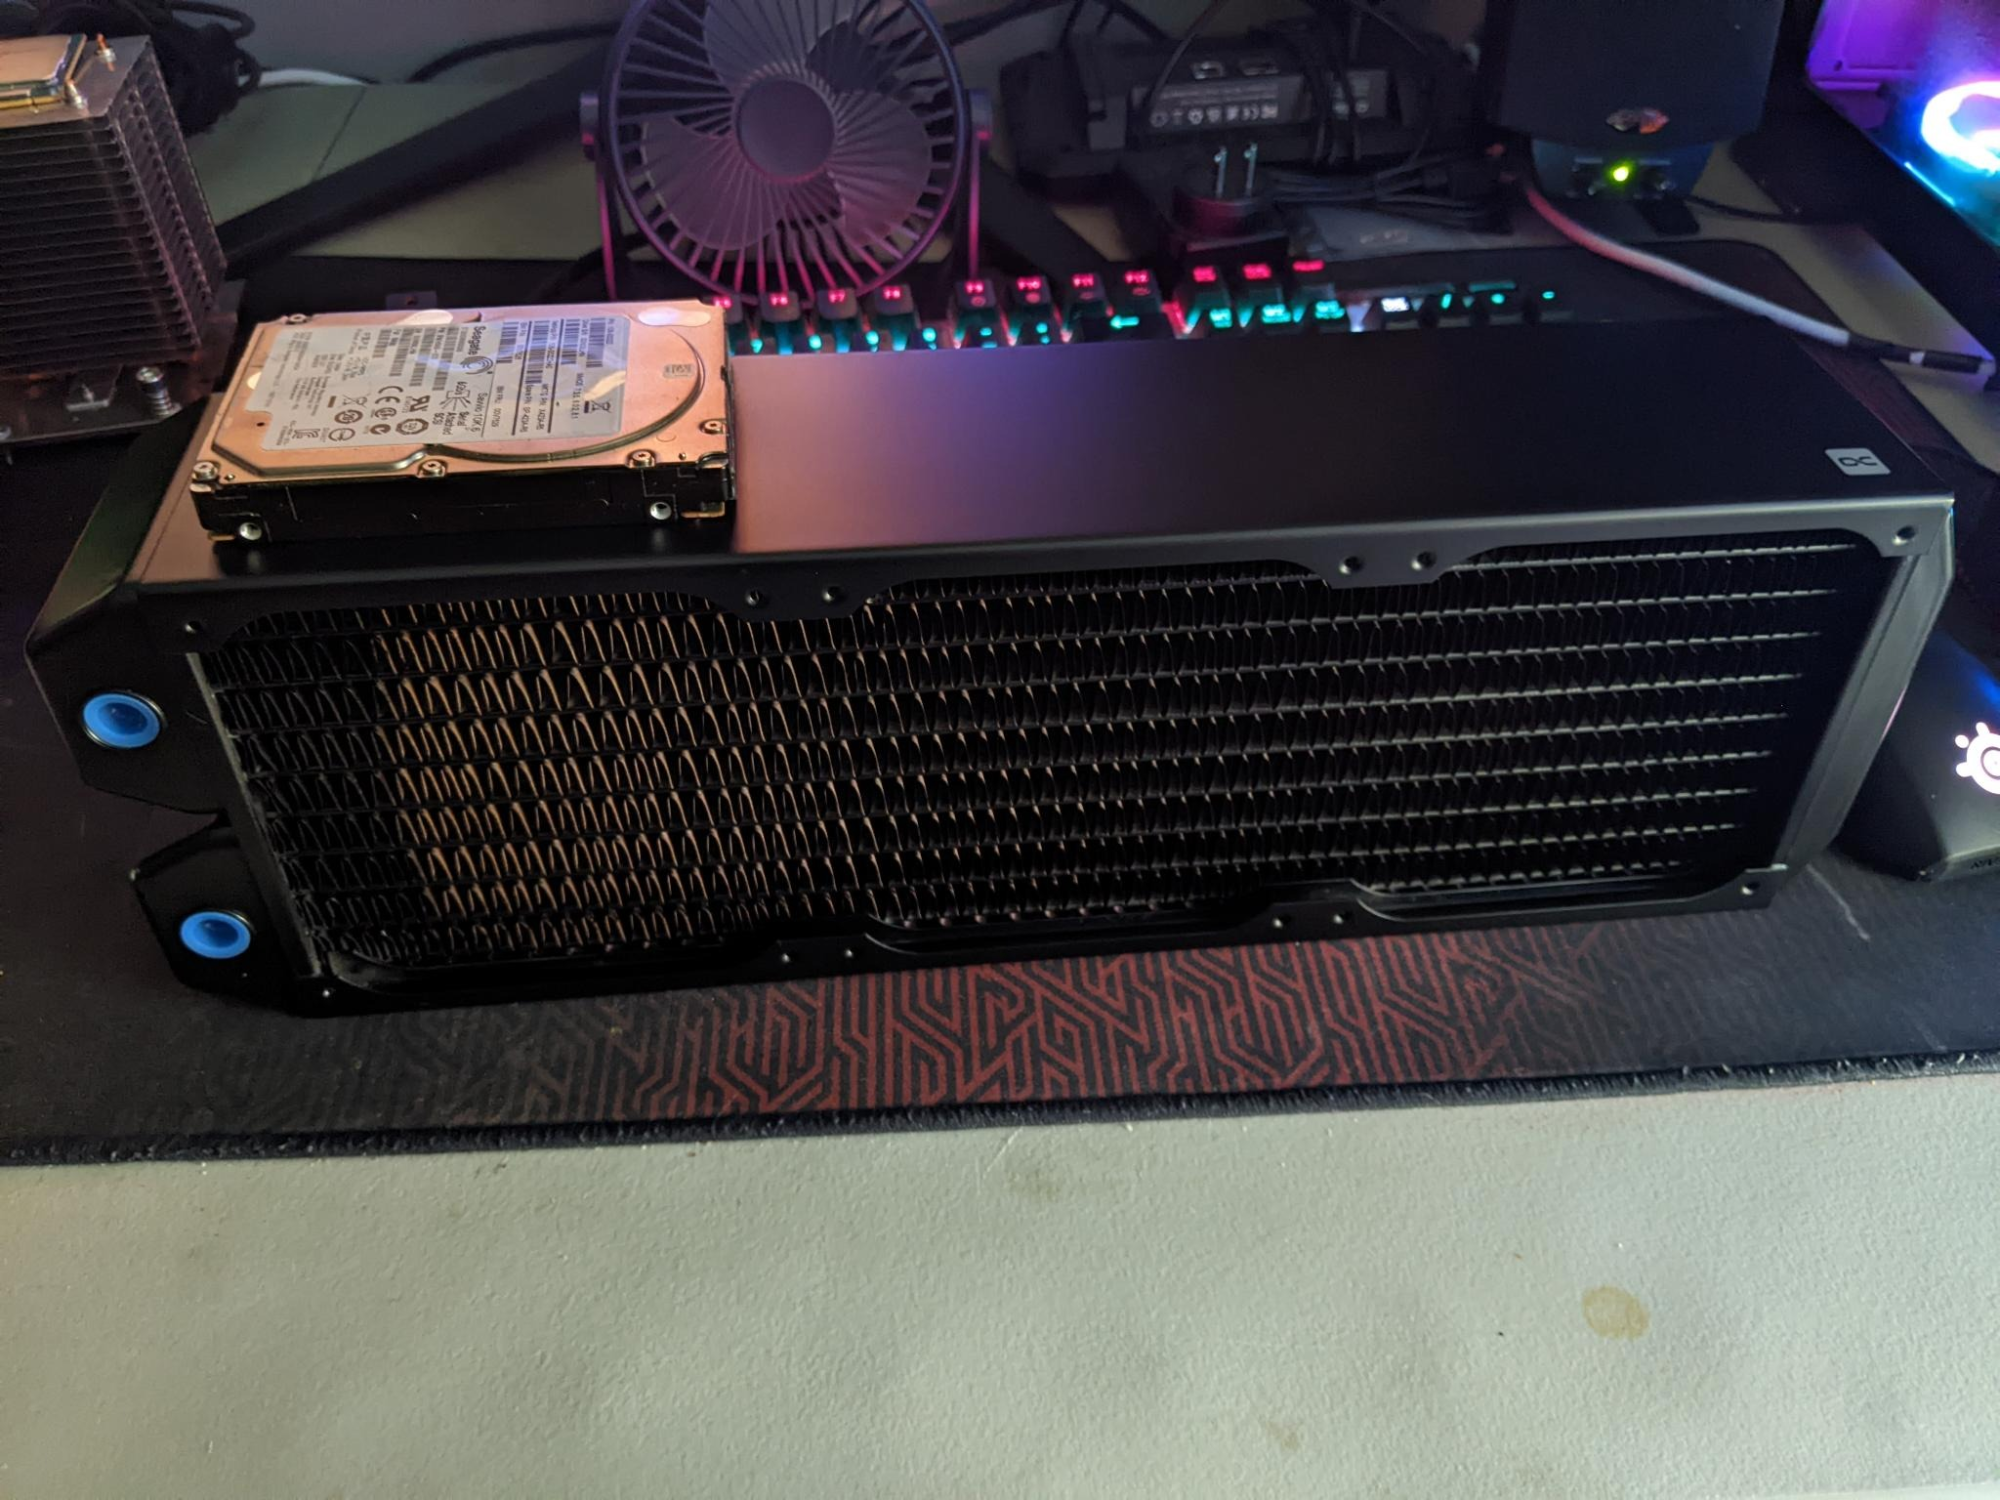
So parts came raining in on Friday. Its always like christmas when that happens. I got the radiator and unboxed it and it sure is a Monsta.
1693754262239.png


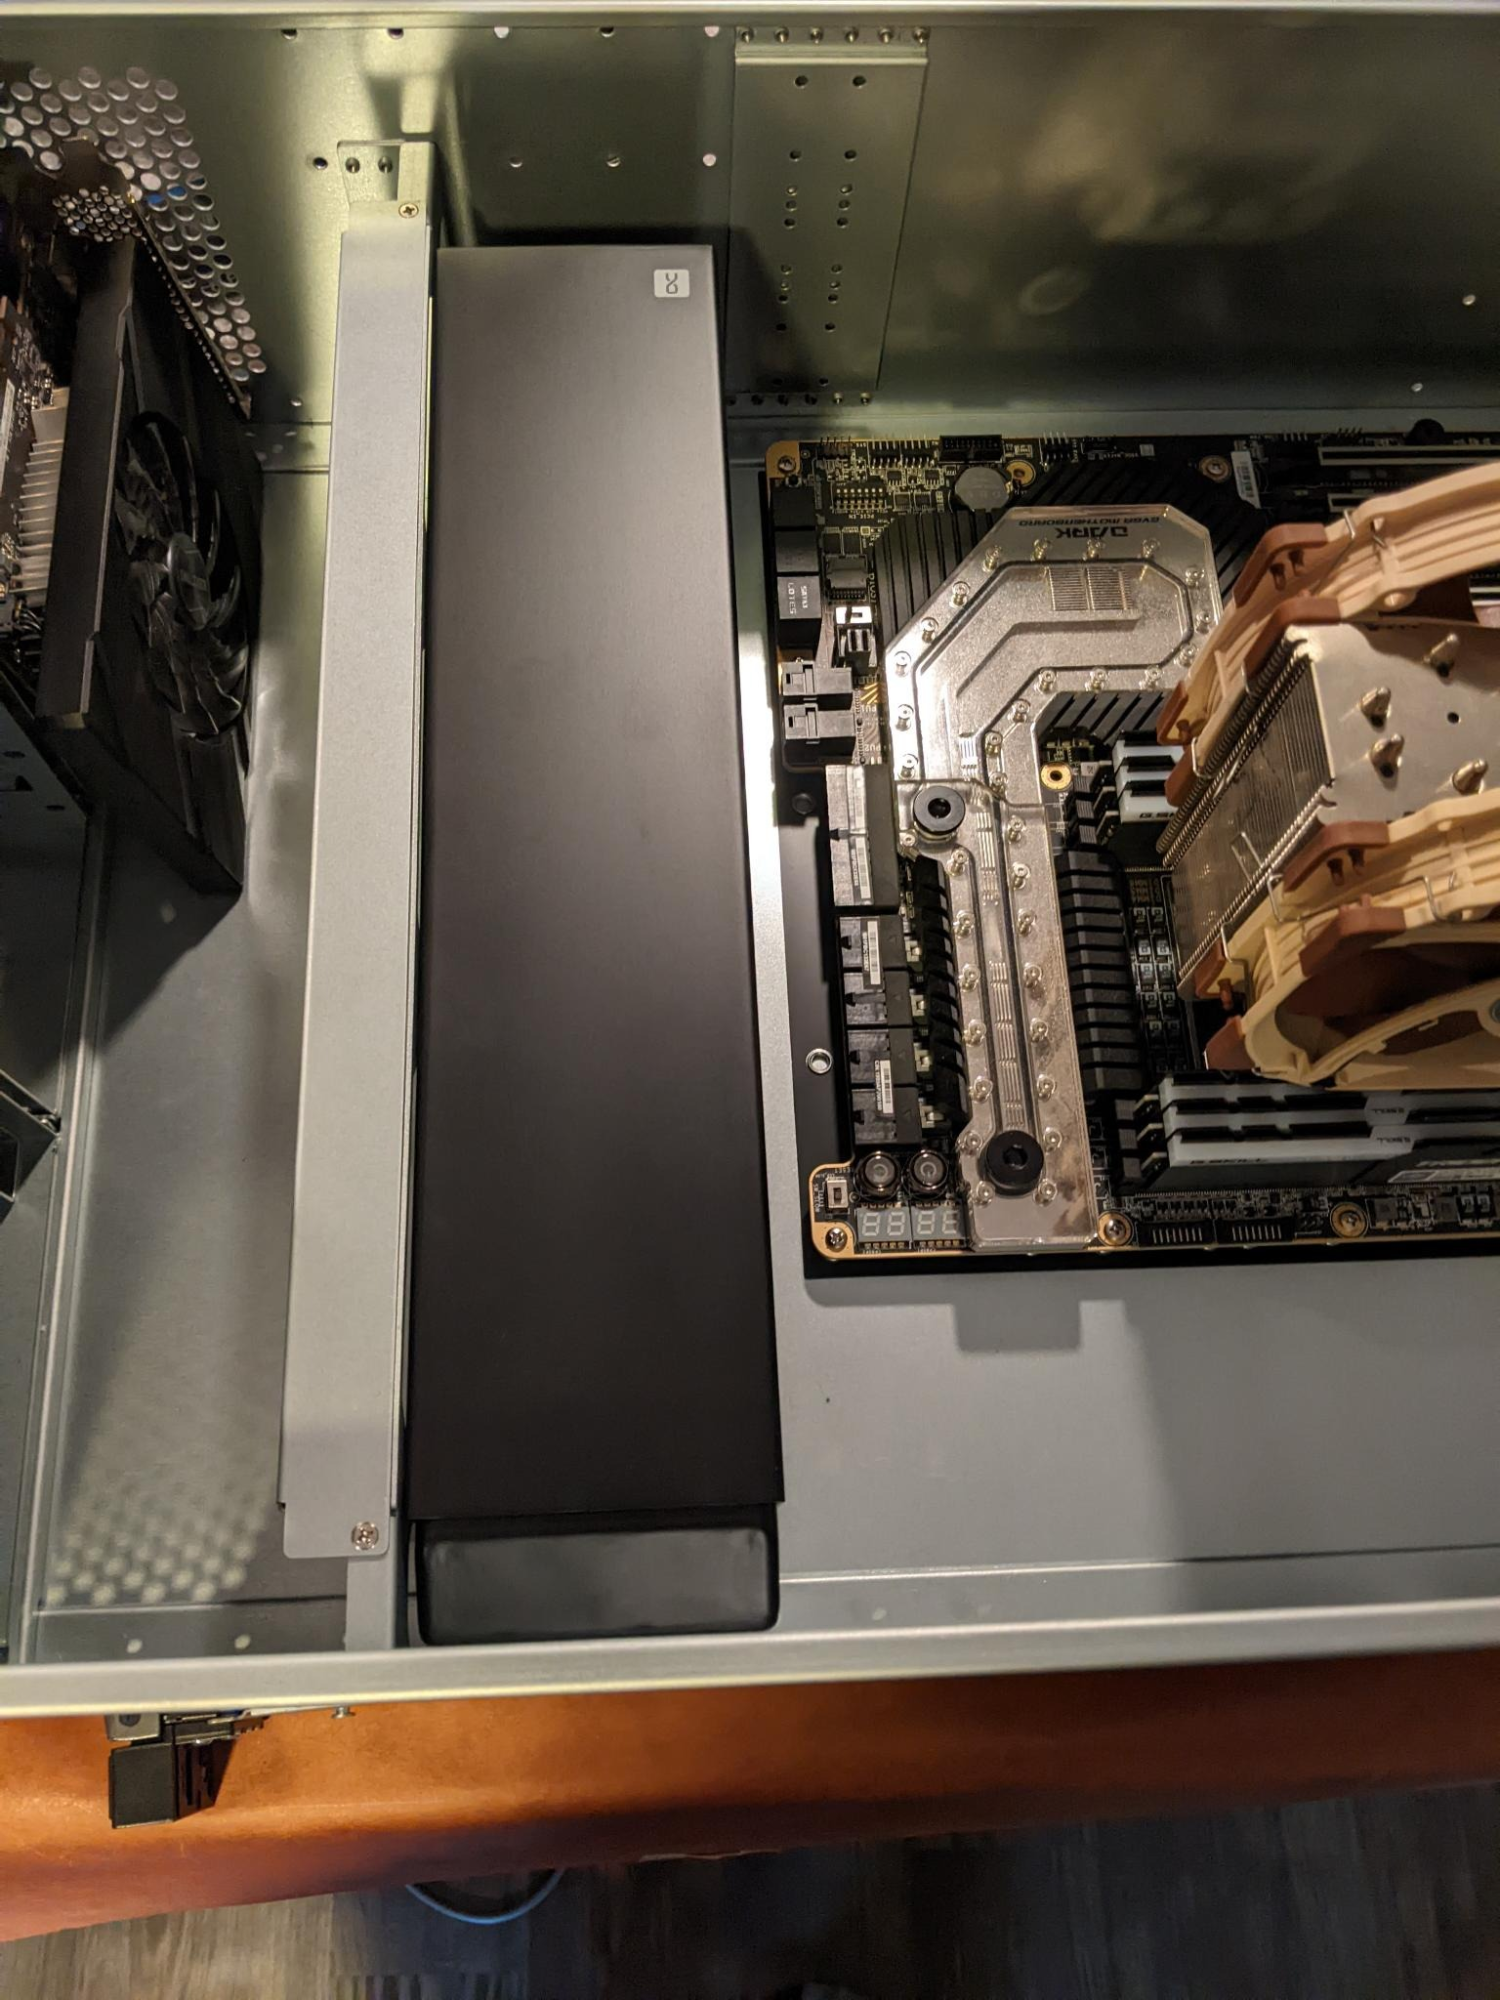
So i placed it in the case where it goes and she is thikkkk.

1693754374771.png


I tried to justify it every which way i could but trying to use this radiator brings in problems with tubing making turns in which i think kinking will occur as well as making it a pita for power cables to the board. So i think im going to bite the bullet and accept this is just to thick and put this radiator in the spare parts and pickup a 60mm thick radiator.
 
Alright. I had to back burner this project and prepare for christmas, now that is over with we can get back at it.
The guy i bought the SR3 setup from ended up picking up this same case for his compute machine then ordered another for his gaming rig. He is the one that motivated me to kickstart this project back up in full force. Here is a pic he sent me.
1705122173333.png

Ordered fittings for the CPU and VRM block as well as the reservoir I also ordered 5L of Mayhems X1 Coolant. I also picked up a Xylem D5 pump from Optimus. More to come!
 
I am watching this thread closely. I have similar ideas for a Supermicro 2U server and I need to reign in the noise.
 
Count me in amongst those who want to get a homelab going but can't justify excessive fan noise.

I do like that this case has 360mm radiator mounting, but had initial concerns about GPU clearance with that radiator placement - not necessarily for the short term as a largely CPU-centric server, but longer-term for if I want to cram an RTX 4080/4090-sized GPU in there. Betting that won't happen without a waterblock anyway.

Your top cover clearance with that Noctua heatsink also brings to mind the greater PCB heights of today's high-end GPUs, with the top-mount 12VHPWR cable connection not helping one bit. That's probably why we're seeing 5U cases now, although they sure fetch a pretty penny at the moment. 4U has more options.

The 5.25" bays could come in handy for pump + reservoir mounting; I liked doing it that way before the trend in desktop case design to remove those bays entirely forced me to switch reservoirs.
 
I got the PSU mounted up to start getting measurements for custom cables. Arc card is now installed in its slot. Though i just saw yesterday someone is making low profile single slot versions now and may switch to that later on. Also am going to unmount the board to put the IO Sheild in. This particular board doesnt have one built in and it looks gross. Went ahead and unmounted the noctua cooler and put the EK block on. Now i can finally cover this up. It has a layer of dust on it now because of the noctua cooler interfering. So much room for activities!
1705688192307.png


Here is looking the other way to show the radiator/fanwall mount and the backside of the bays. This will be 100% NVMe m.2 so i dont plan to use the bays. I need to take the 3.5 drive mounts out because to fit fans up in the front on both sides.
1705688572725.png


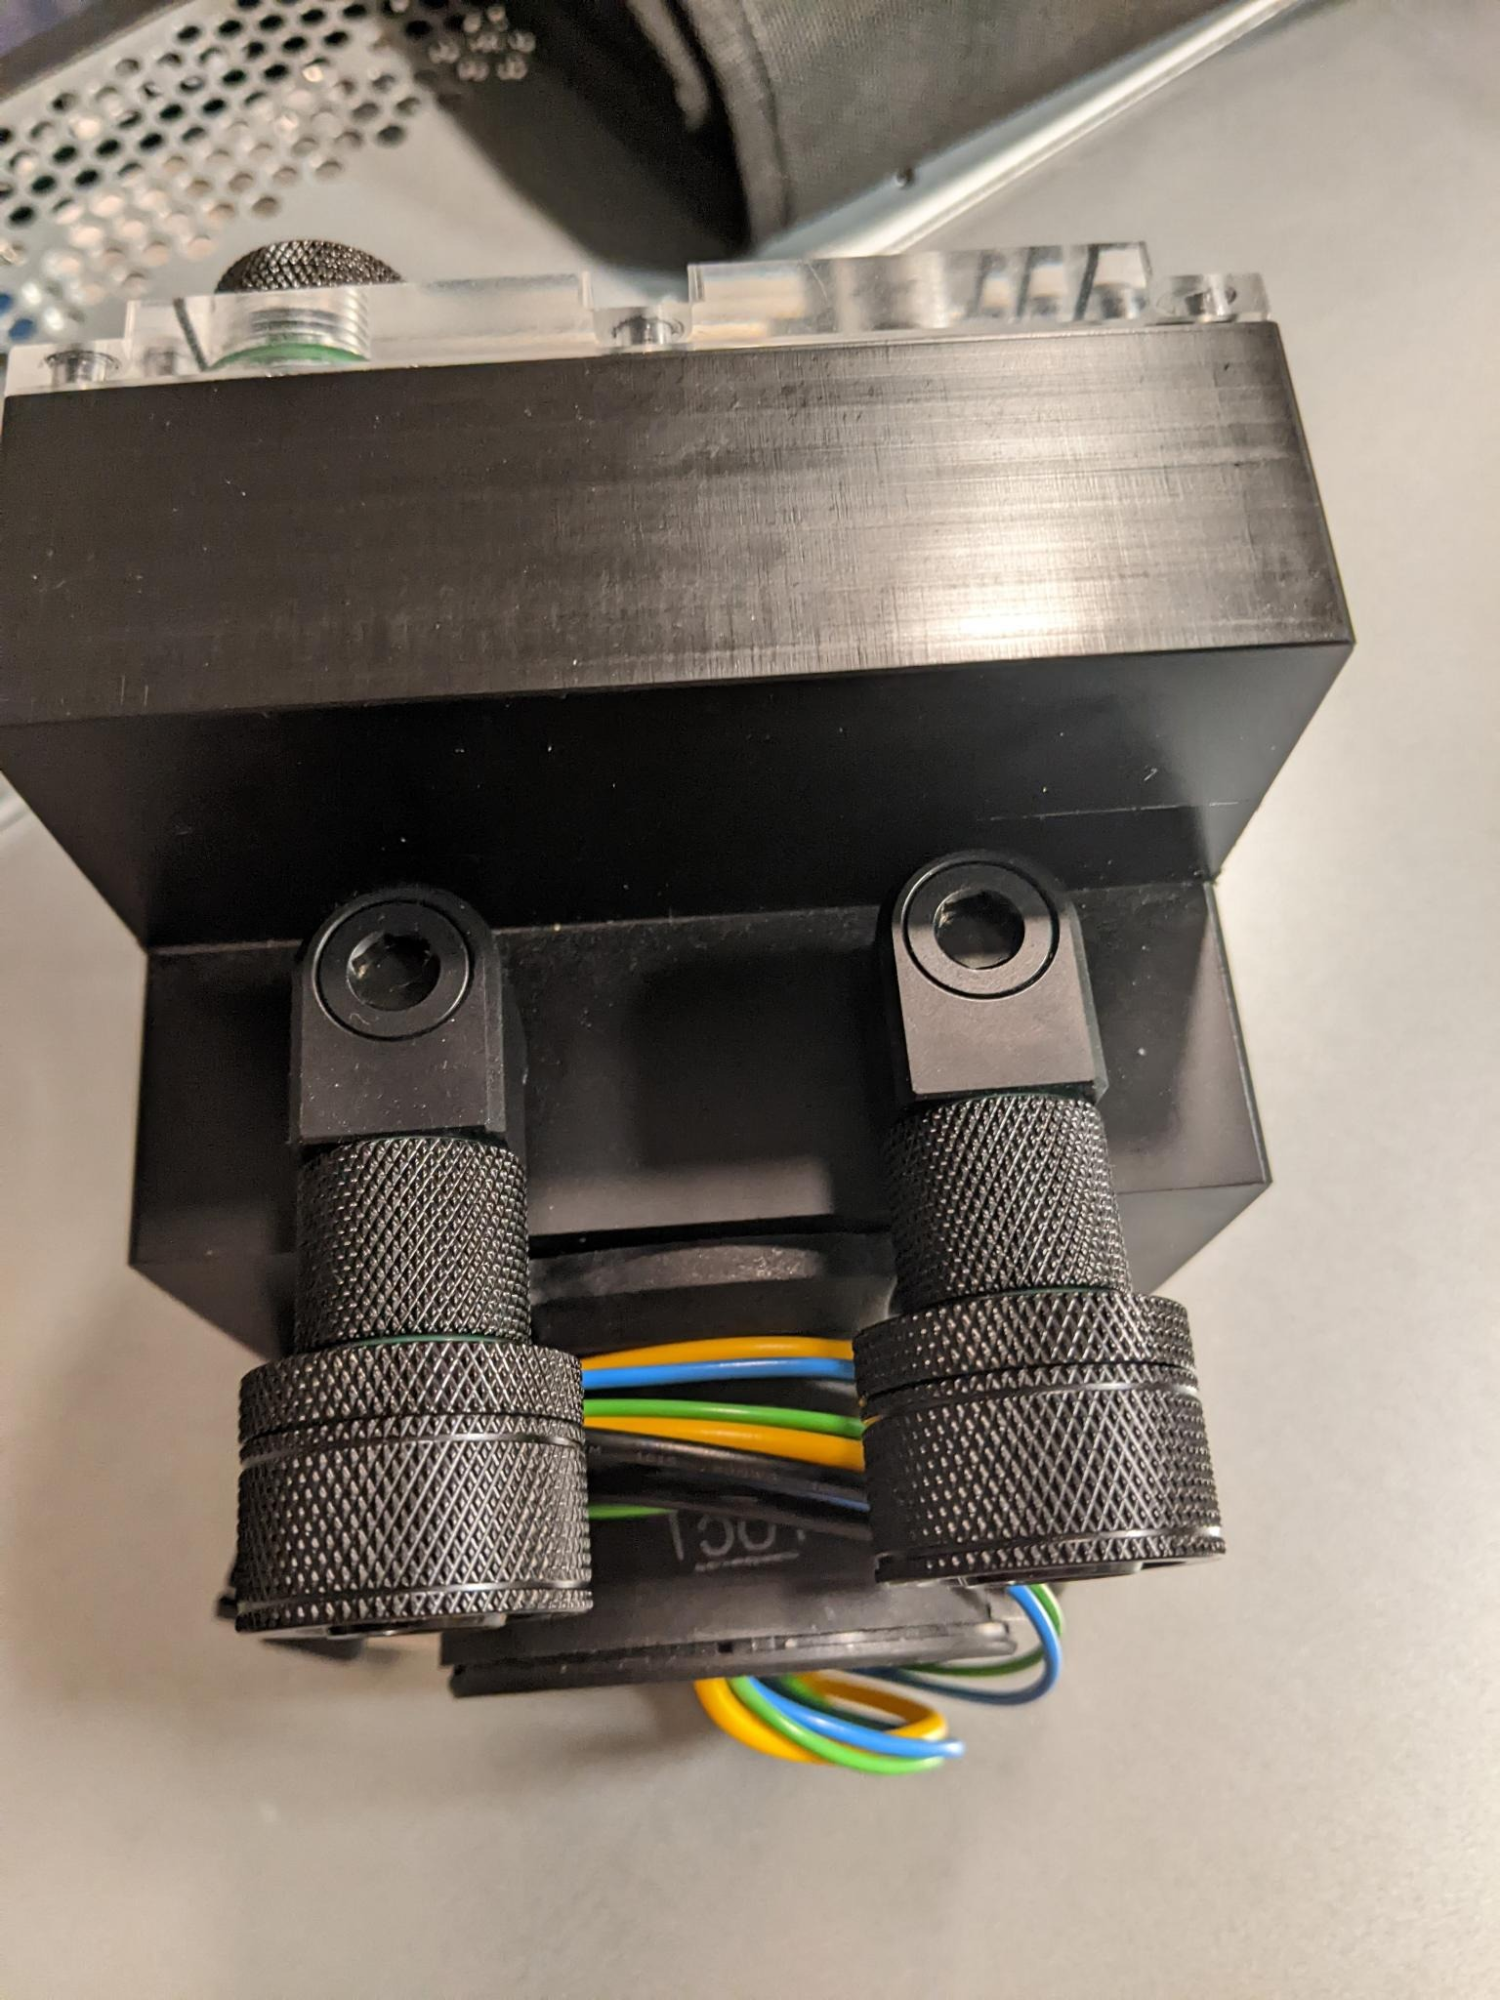
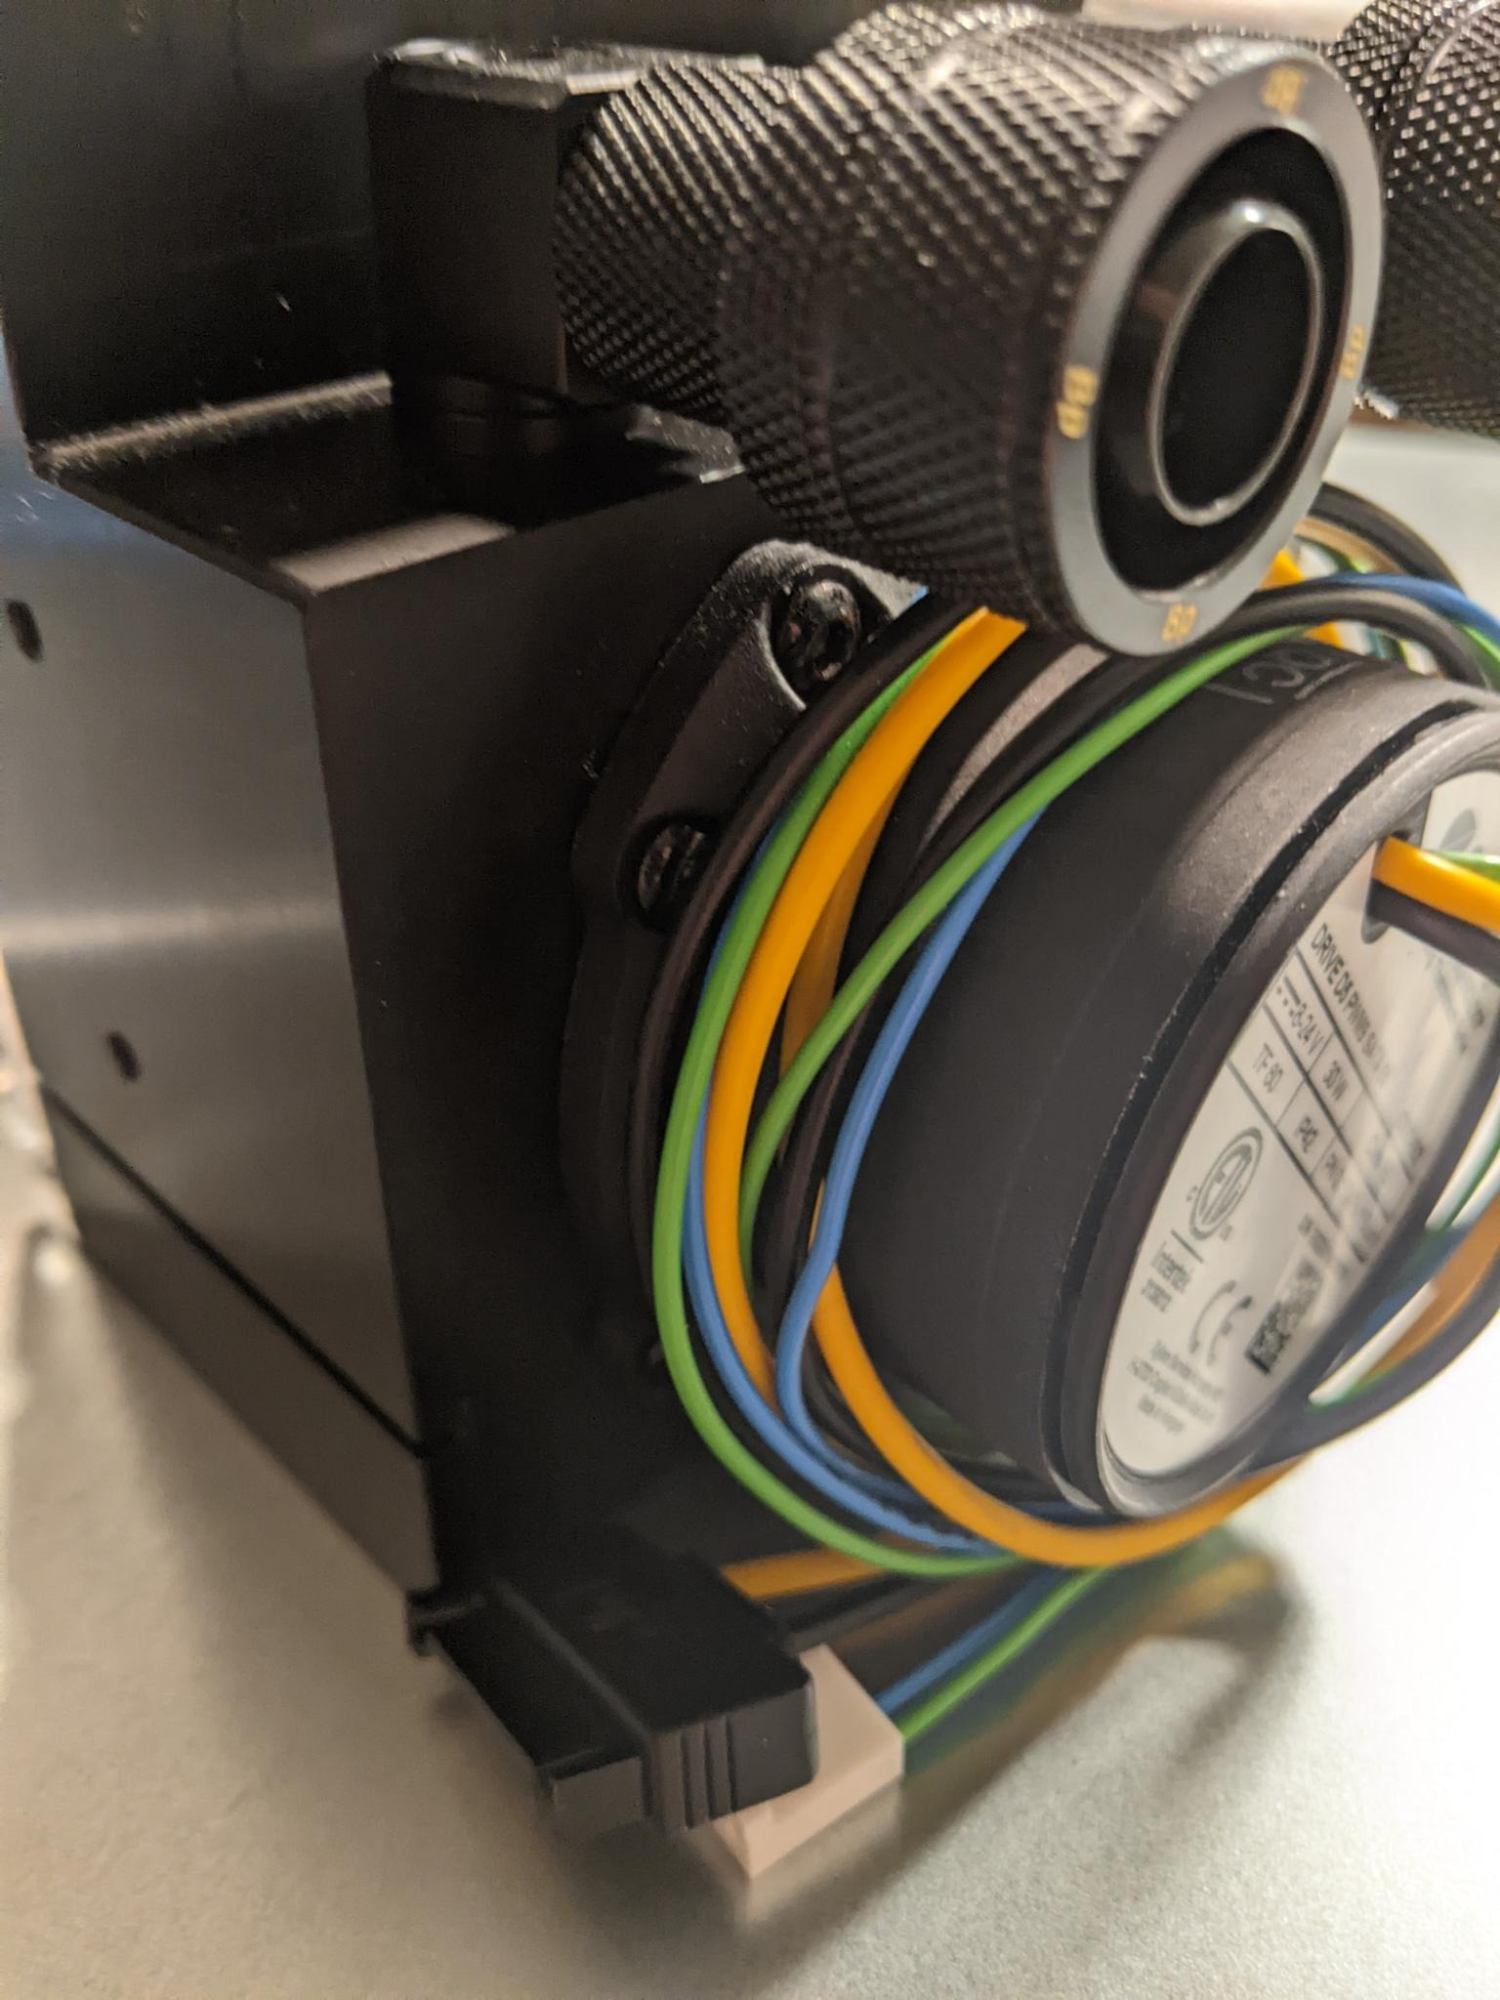
Parts are starting to roll in. The Xylem D5 was the only D5 i could source with a SATA power connection. I hate the old molex connectors as the quality seems to have dropped out and they are just a pain to deal with. It finally showed up from Optimus Watercooling and i got it mounted in the pump/res unit thats made specifically to fit in the front middle of this case.
1705688872763.png
 
Count me in amongst those who want to get a homelab going but can't justify excessive fan noise.

I do like that this case has 360mm radiator mounting, but had initial concerns about GPU clearance with that radiator placement - not necessarily for the short term as a largely CPU-centric server, but longer-term for if I want to cram an RTX 4080/4090-sized GPU in there. Betting that won't happen without a waterblock anyway.

Your top cover clearance with that Noctua heatsink also brings to mind the greater PCB heights of today's high-end GPUs, with the top-mount 12VHPWR cable connection not helping one bit. That's probably why we're seeing 5U cases now, although they sure fetch a pretty penny at the moment. 4U has more options.

The 5.25" bays could come in handy for pump + reservoir mounting; I liked doing it that way before the trend in desktop case design to remove those bays entirely forced me to switch reservoirs.
homelabbing is a constant search of getting as much performance as possible while drawing as low of power as possible and controlling the noise! :)

Alphacool makes drop in enterprise grade open loop kits for these as an option as well. I went custom for max performance since this thing can make some serious heat. The pic i posted above with the two GPUs has two 4090s with water blocks. only clearance issue is the power but hes solving that with 90 degree connectors so the lid goes on. So it is possible to fit 4090s in but yeah the influx of 5u versions were to fit modern air cooled cards.


Dont need to mess with bay res in the 4u model.
1705689749400.png


https://shop.alphacool.com/shop/aus...2-alphacool-es-4u-reservoir-mit-d5-top?c=1500
 
homelabbing is a constant search of getting as much performance as possible while drawing as low of power as possible and controlling the noise! :)

Alphacool makes drop in enterprise grade open loop kits for these as an option as well. I went custom for max performance since this thing can make some serious heat. The pic i posted above with the two GPUs has two 4090s with water blocks. only clearance issue is the power but hes solving that with 90 degree connectors so the lid goes on. So it is possible to fit 4090s in but yeah the influx of 5u versions were to fit modern air cooled cards.


Dont need to mess with bay res in the 4u model.
View attachment 628638

https://shop.alphacool.com/shop/aus...2-alphacool-es-4u-reservoir-mit-d5-top?c=1500
Mid-mount bay res? Now that's the Alphacool I know - they're a fairly sizeable name in custom water-cooling, after all! It's also a D5 pump top, which is even better for me since those are the pumps that I've standardized on.

This may have just become my ATX rackmount computer case of choice for that alone, so long as the radiator doesn't intrude too much on the motherboard/expansion card clearance toward the back end (waterblocking GPUs if needed). I plan on reusing a Hardware Labs Black Ice GTX 360 that I've had for quite a while, and at 53mm thick, it's not Monsta gargantuan but also not slim in the slightest.

Let me know how the 4090 clearance works out with the 12VHPWR angle adapters; it seems like a 90-degree or even 180-degree adapter is the only way we're going to get these behemoths to fit into 4U cases with their tall PCBs.
 
Nice looking build. I'll be paying attention as I look forward to moving my desktop into a rackmount case and using a couple of Mora's to cool it.

As an aside:

What has your experience been like with that XL710-QDA2 NIC?

I came across a deal too good to pass up, and bought a couple of them.

With two 40Gbit ports, and only 8xPCIe Gen3 lanes, it looks like they will be PCIe limited at about ~63Gbit/s (minus overhead) but that is still a hell of an upgrade, even with the bus limit.

My original plan had been to use one of the ports with a 4x 10gig breakout and the other port to direct link my NAS server and Workstation on a separate subnet at 40gig, but it looks like that may not work.

From this thread on the Intel Community Forums it looks like if you switch one of the two 40Gig ports to 4x10Gig mode, it disables the second port.

Seems like kind of a shitty implementation to me. Have you found this to be the case as well, or are the folks on that forum incorrect?

edit:

I found this in the official Intel documentation:

Code:
Intel ® QSFP+ Configuration Utility (QCU)
Quick Usage Guide
6 332168-001

To change the configuration of an adapter, use the /set= option with one of the following
configurations:
• 1x40 to enable a single QSFP+ port in 40 Gb/s mode.
• 2x40 to enable dual QSFP+ ports in 40 Gb/s mode.
• 4x10 for using a single QSFP+ port and breakout cable (connection to four 10 Gb/s SFP+ link
partners).
• 2x2x10 for using dual QSFP+ ports with breakout cables (connection to two 10 Gb/s SFP+ link
partners for each QSFP+ port).

So, yeah, looks like the forums were accurate. Looks like the only way to use both ports is to have them both in 40gig mode, or have them both in 2x10gig mode, where each of the breakouts only use two of their four 10gig connections.

I wonder why on earth they designed it like that.
 
Last edited:
Nice looking build. I'll be paying attention as I look forward to moving my desktop into a rackmount case and using a couple of Mora's to cool it.

As an aside:

What has your experience been like with that XL710-QDA2 NIC?

I came across a deal too good to pass up, and bought a couple of them.

With two 40Gbit ports, and only 8xPCIe Gen3 lanes, it looks like they will be PCIe limited at about ~63Gbit/s (minus overhead) but that is still a hell of an upgrade, even with the bus limit.

My original plan had been to use one of the ports with a 4x 10gig breakout and the other port to direct link my NAS server and Workstation on a separate subnet at 40gig, but it looks like that may not work.

From this thread on the Intel Community Forums it looks like if you switch one of the two 40Gig ports to 4x10Gig mode, it disables the second port.

Seems like kind of a shitty implementation to me. Have you found this to be the case as well, or are the folks on that forum incorrect?

edit:

I found this in the official Intel documentation:

Code:
Intel ® QSFP+ Configuration Utility (QCU)
Quick Usage Guide
6 332168-001

To change the configuration of an adapter, use the /set= option with one of the following
configurations:
• 1x40 to enable a single QSFP+ port in 40 Gb/s mode.
• 2x40 to enable dual QSFP+ ports in 40 Gb/s mode.
• 4x10 for using a single QSFP+ port and breakout cable (connection to four 10 Gb/s SFP+ link
partners).
• 2x2x10 for using dual QSFP+ ports with breakout cables (connection to two 10 Gb/s SFP+ link
partners for each QSFP+ port).

So, yeah, looks like the forums were accurate. Looks like the only way to use both ports is to have them both in 40gig mode, or have them both in 2x10gig mode, where each of the breakouts only use two of their four 10gig connections.

I wonder why on earth they designed it like that.
My experience has been fine. I use them in 2x 40g and use QSFP cables to connect to a switch with QSFP ports in LACP. Though the motherboard already has dual Intel X557-AT2 on board. So i may just LACP those using rj45 transceivers on my 10g switch as it should be sufficient for what im doing with this.
 
My experience has been fine. I use them in 2x 40g and use QSFP cables to connect to a switch with QSFP ports in LACP. Though the motherboard already has dual Intel X557-AT2 on board. So i may just LACP those using rj45 transceivers on my 10g switch as it should be sufficient for what im doing with this.

How much performance are you able to get over a single link in a 40Gbit interface?

I can max out the interface (~37.8Gbit/s) buy running many connections through it, but with single links I never see more than 16-19.5Gbit/s
 
ive not ran one in single port mode to be honest

Ah, not single port, but single connection. That is, one file transfer, I stead of 10 simultaneous file transfers. That sort of thing.

Anyway, I don't want to hijack your build thread.
 
Long time no update.... i know.
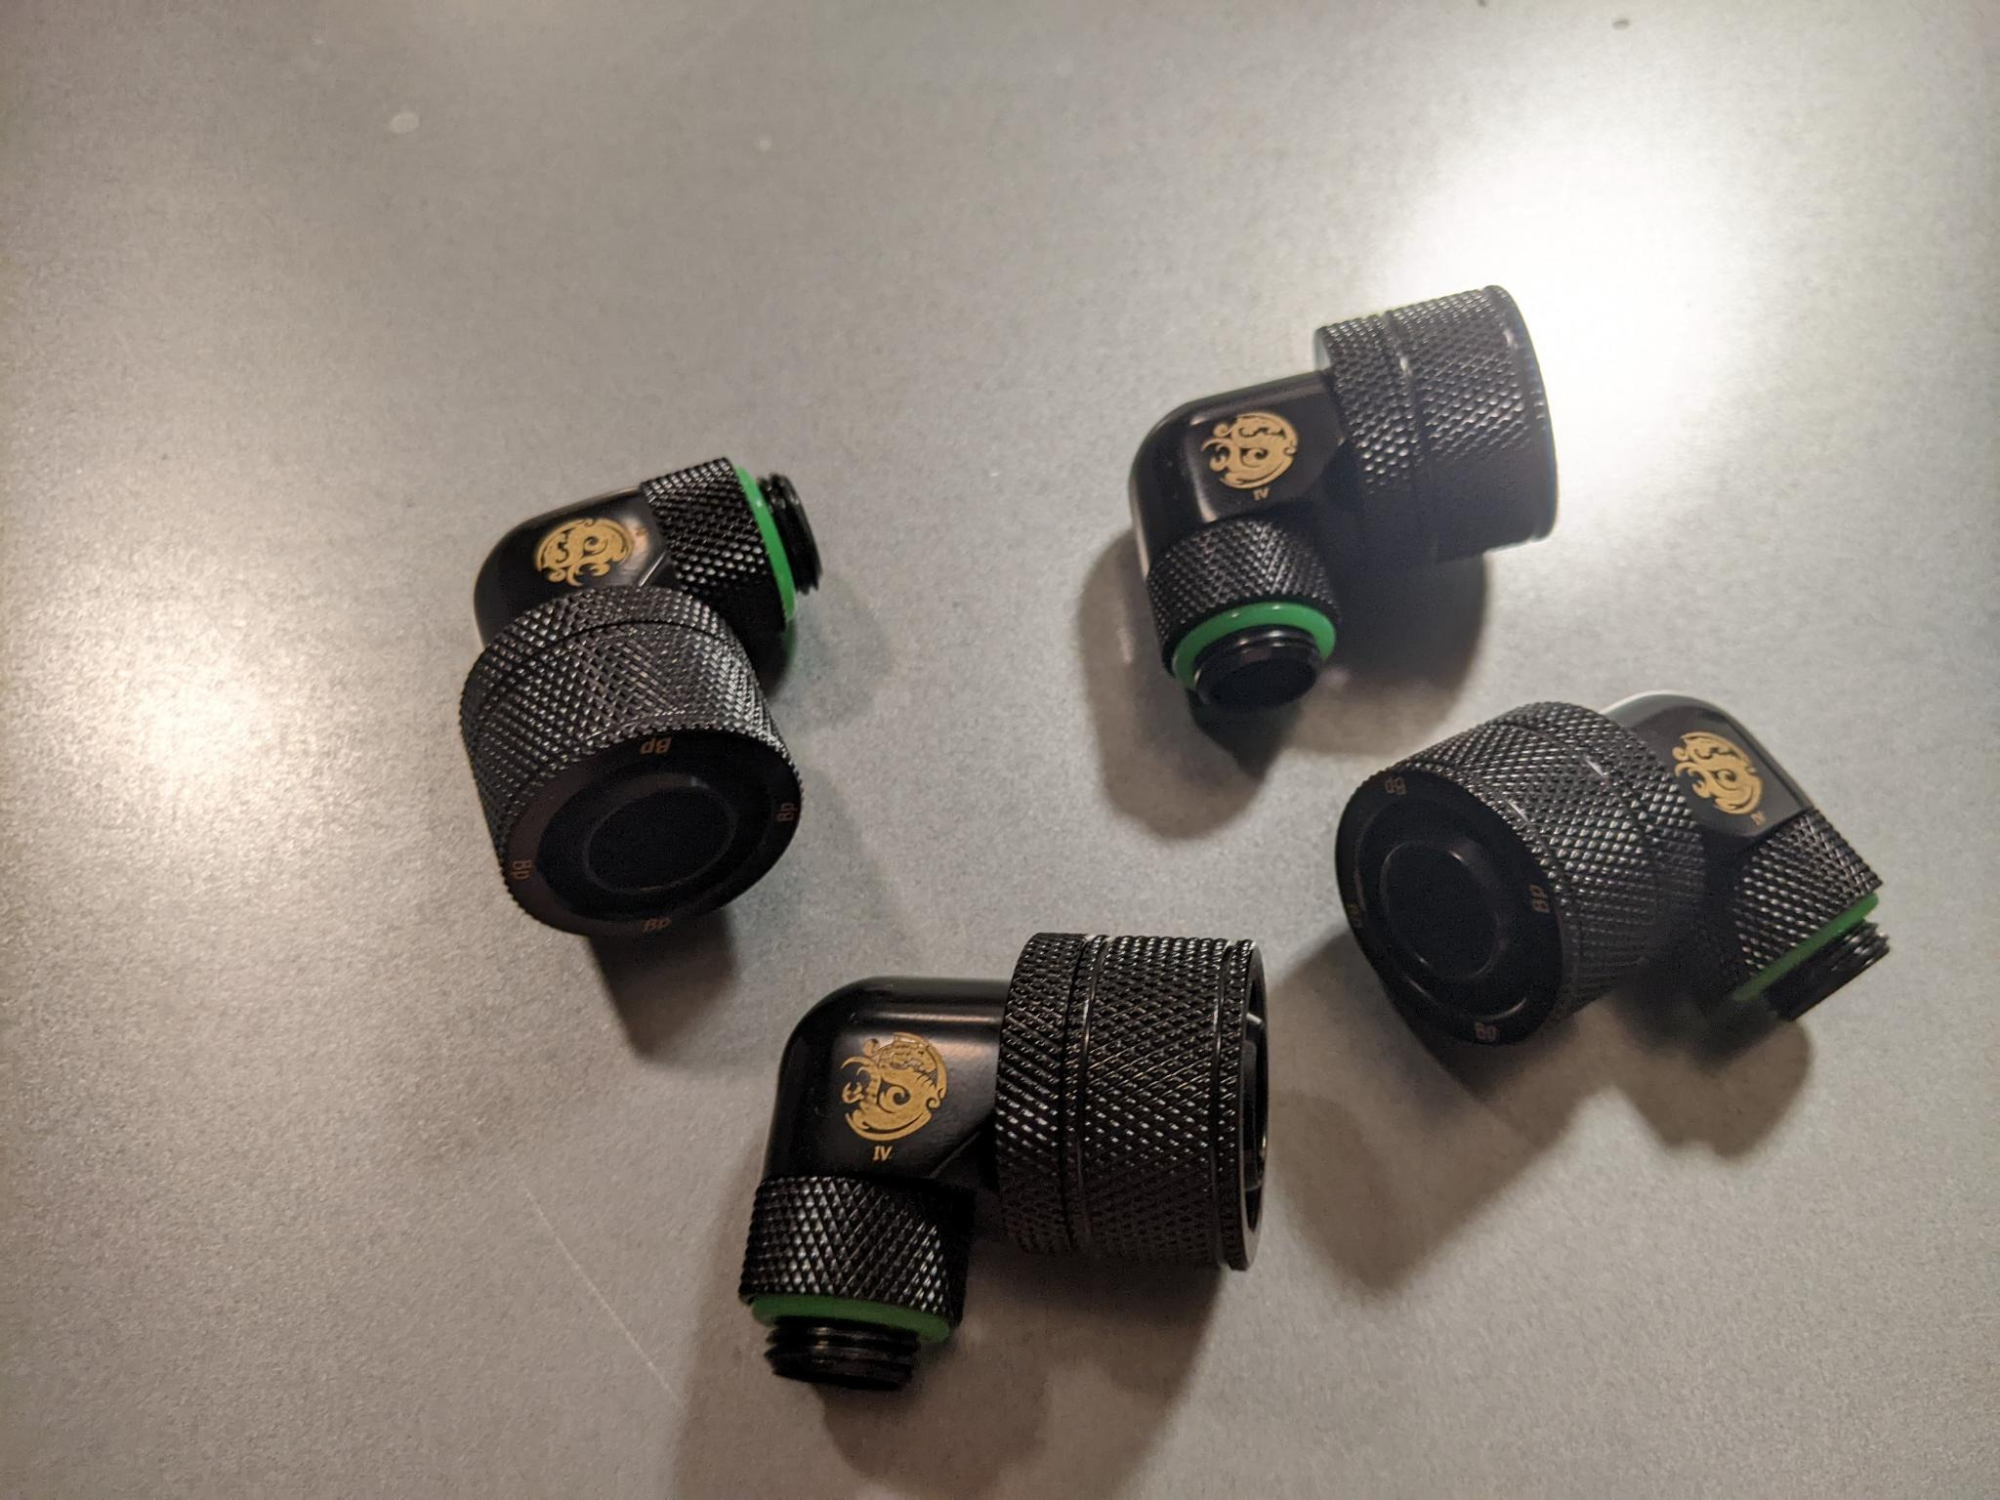
Its always fun ordering fittings with the idea that they will work and then do not. I have been battling for a few weeks with these guys.
1709061136175.png


Beautiful fittings. Love them. However the rotaries are so tight that its near impossible to get them to even spin to thread. I got fed up with this and knew i could get them to thread in using soft jaw needle nose pliers but i knew it would be a PITA if i ever had to tear it down. I also knew that using pliers to tighten them would make it way harder to work on and would likely cause damage to the fittings or the parts around fittings.
Modern problems require modern solutions.
I picked up some new ultra low profile EK 90s that are pretty trick. These alone didnt work because of clearance so i had to pickup some extensions. Sadly the smallest size i could find was 15mm. It turned out pretty good though and this solved all of my problems.
1709061498223.png
1709061556990.png


In this time ive ordered fittings, waited, tried them, ordered new ones, waited, tried again, then did that for a third and fourth time because one package got lost. However with all of this i did order the remainder of the fittings needed so i can push on. I also put in my order to Bespoke Baka for 24 pin and two 8 pin EPS in custom length/color MDPC-X sleeving so that will be shipping soon.
 
  • Like
Reactions: Nobu
like this
Back
Top